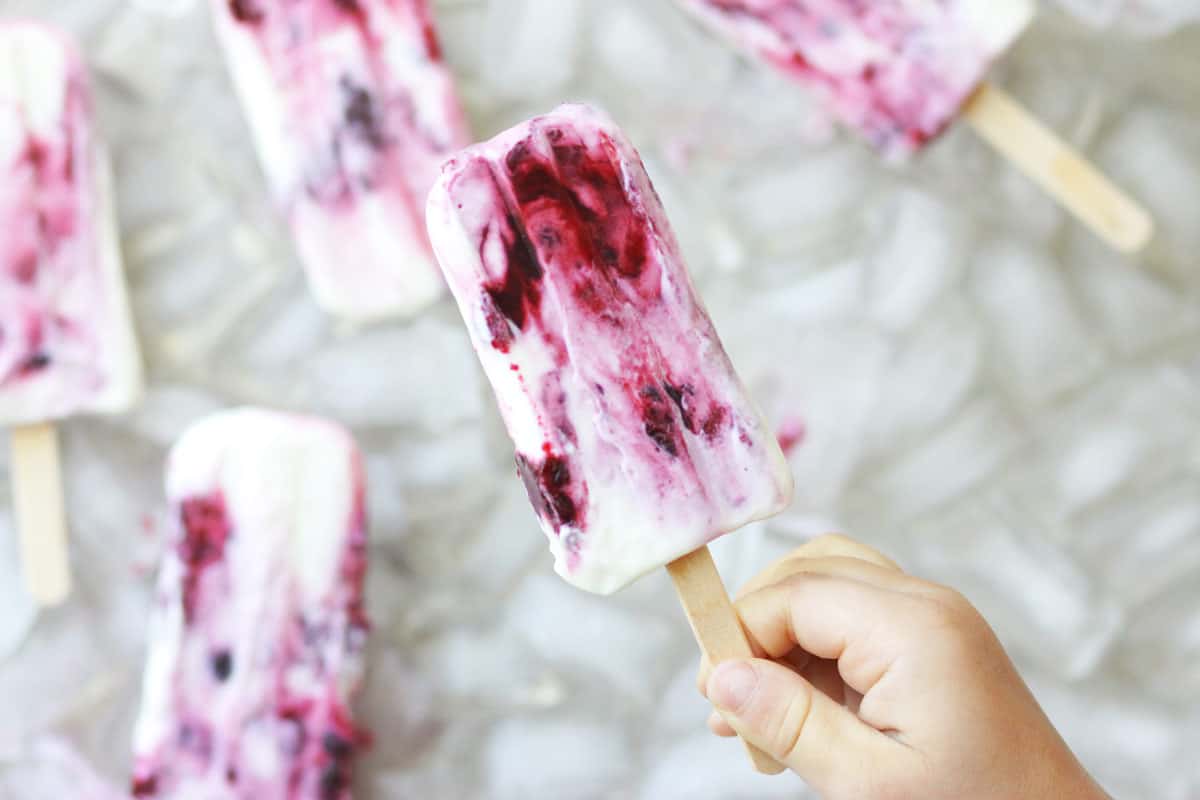
How To Make Blueberry Yogurt Swirl Popsicles
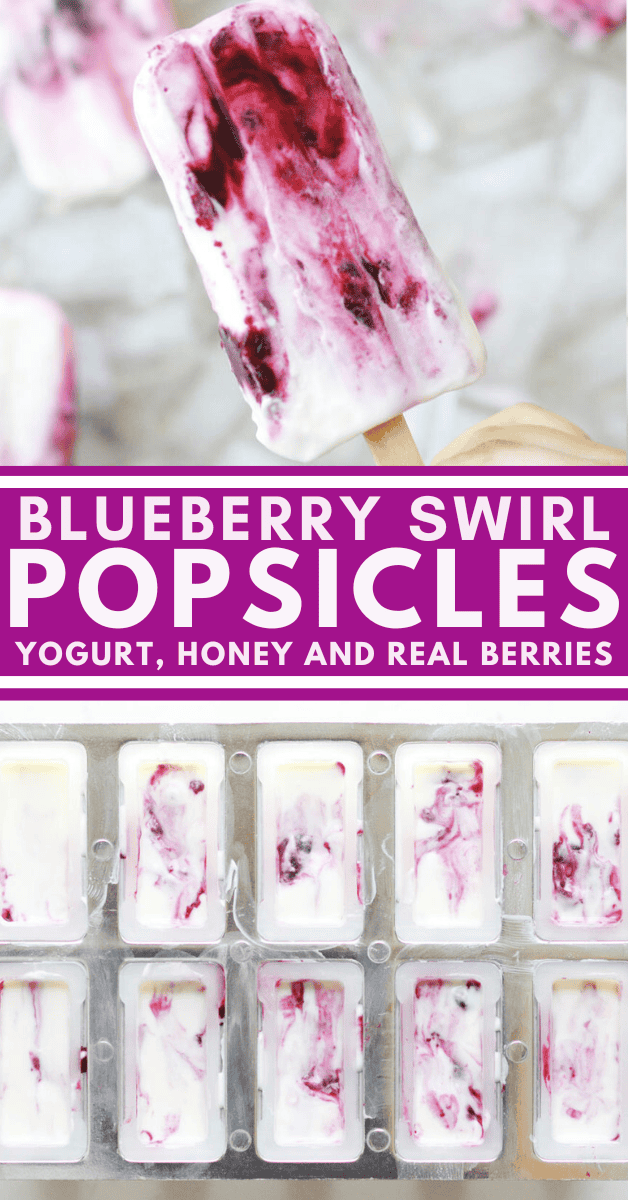
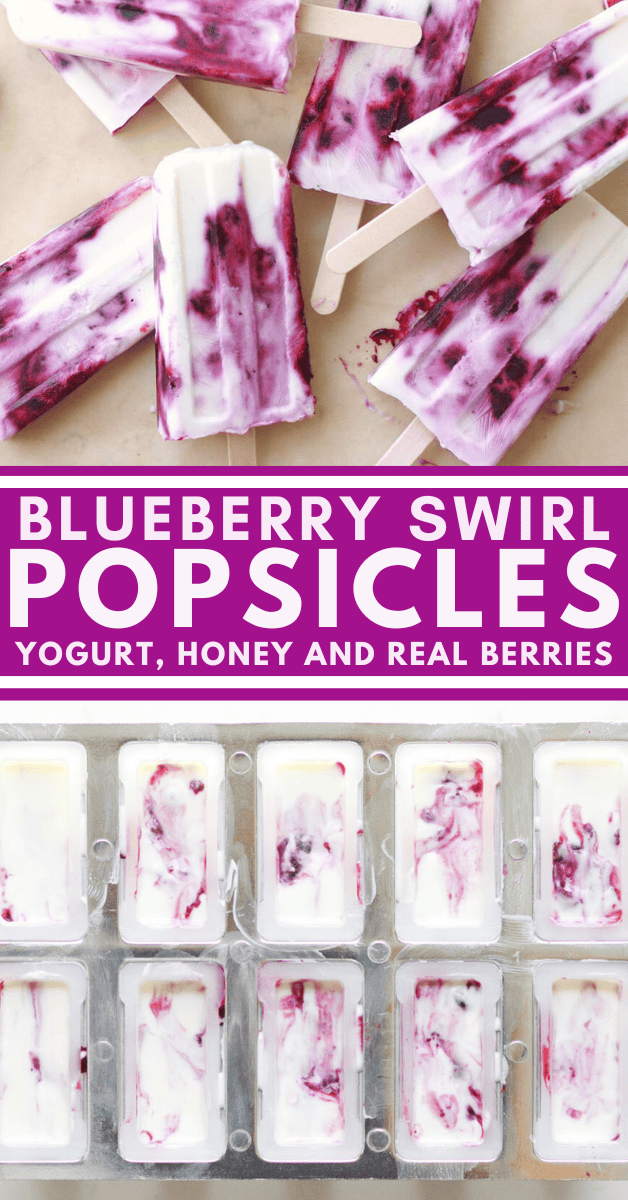
How to make homemade blueberry yogurt popsicles that are creamy and refreshing. Made with fruit, honey and Greek yogurt swirled together for a healthy Summer treat!
There’s nothing quite so fun and refreshing in Summertime as a frozen popsicle! Homemade popsicles are easy to make and simple to customize to whatever flavor you want!
You have to try making our healthy fudgesicle recipe next!
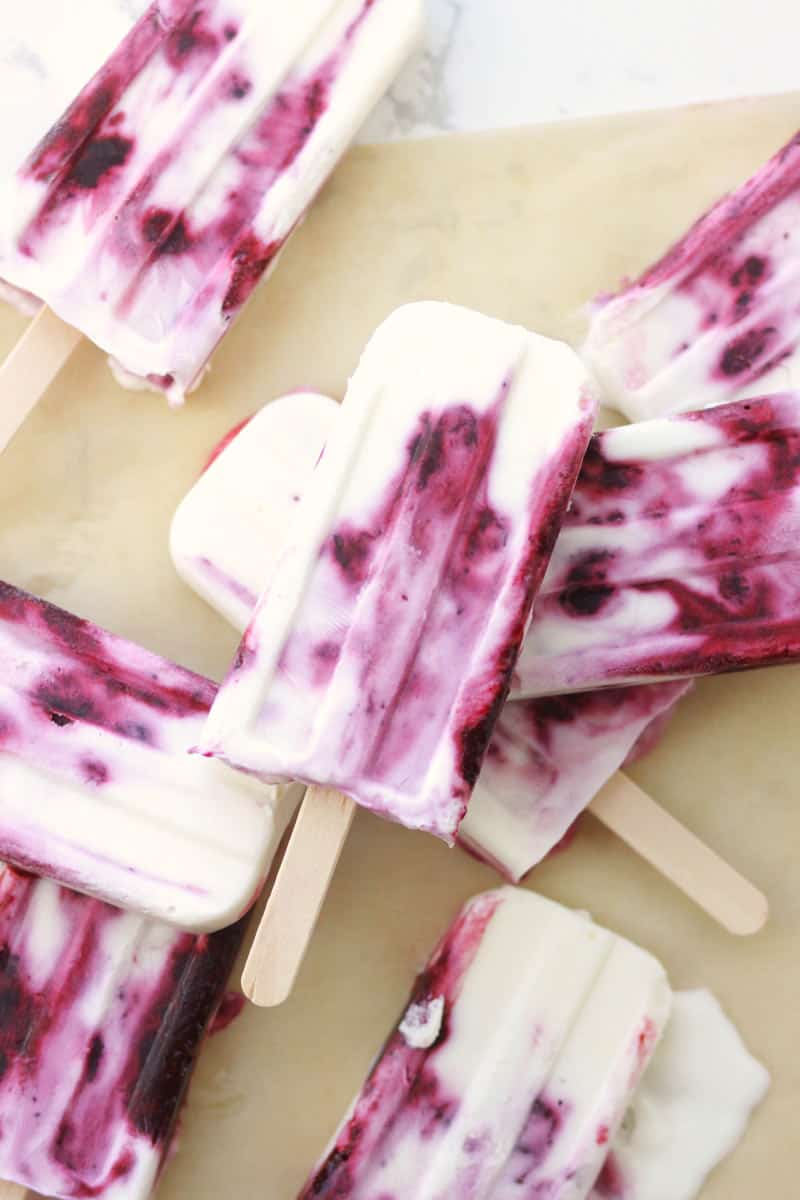
I don’t know about you, but I much prefer the smooth texture of yogurt to an icy popsicles. These popsicles are made with delicious, thick and creamy Greek yogurt swirled with berries and lightly sweetened with honey. They’re just like our yogurt berry smoothie in popsicle form!
They’re so fun to make with the kids to pull out on a hot Summer day for a fun snack or healthy dessert.
This post contains affiliate links, which means I make a small commission at no extra cost to you. Get my full disclosure here.
What you need for Triple Berry yogurt popsicles
ingredients
- Yogurt – Using full fat yogurt will make your popsicles more creamy and less icy. Vanilla, honey or plain Greek yogurt will work in this recipe. If you use sweetened yogurt, leave out the honey in this recipe.
- Honey – Honey for sweetening the yogurt. Adjust the amount of honey to your taste. Maple syrup would work great too!
- Berries – Frozen berries work best in these popsicles but you can use fresh berries if that’s what you have on hand. You can use either one type of berry or mixed berries in this recipe.
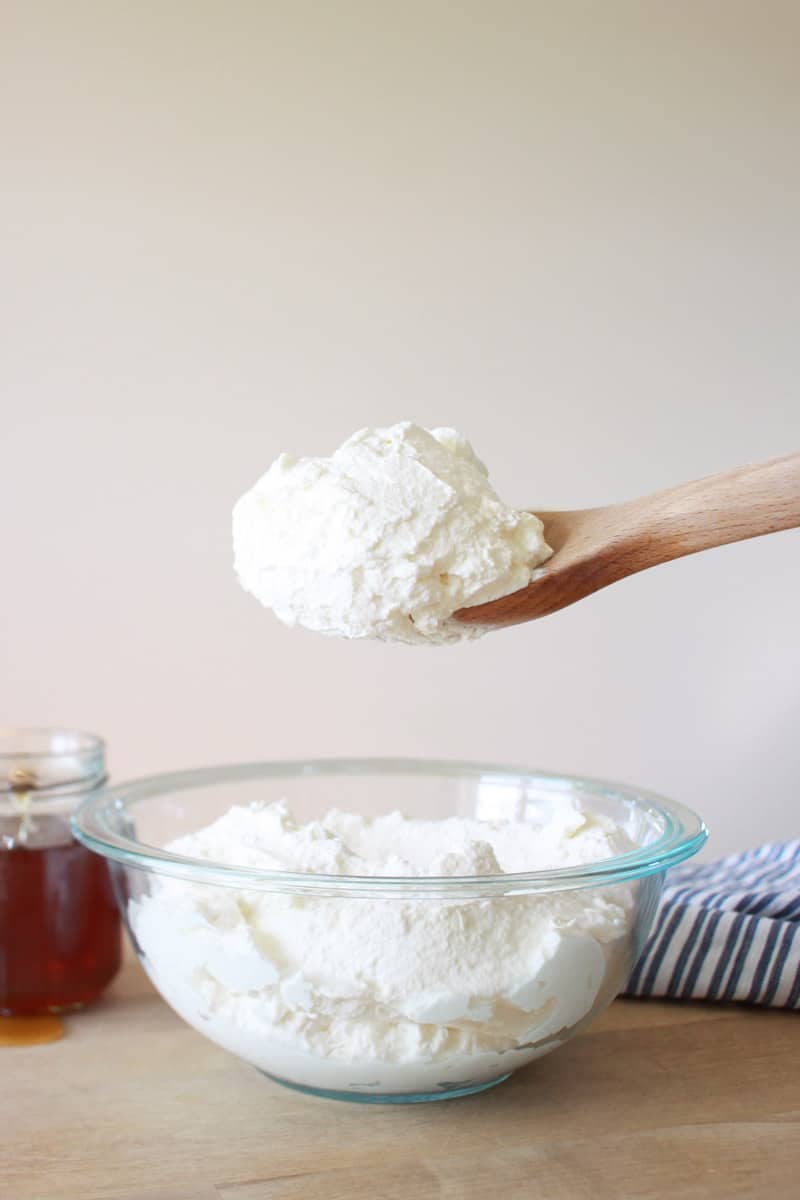
- Heavy Whipping Cream – Adding heavy whipping cream to homemade yogurt popsicles will make them extra creamy.
- Cornstarch – Adding a little cornstarch to the berries absorbs the liquid, thickening the mixture. Having too much liquid in the popsicles makes them too hard and icy.
Have you tried making your own yogurt in the instant pot?
Tools to Use:
how to make This Triple Berry yogurt popsicles Recipe:
Prep – In a small saucepan over medium heat, warm the frozen berries until they are runny and there are no frozen chunks left. Mash the berries with a fork. Remove the saucepan from heat and set aside.
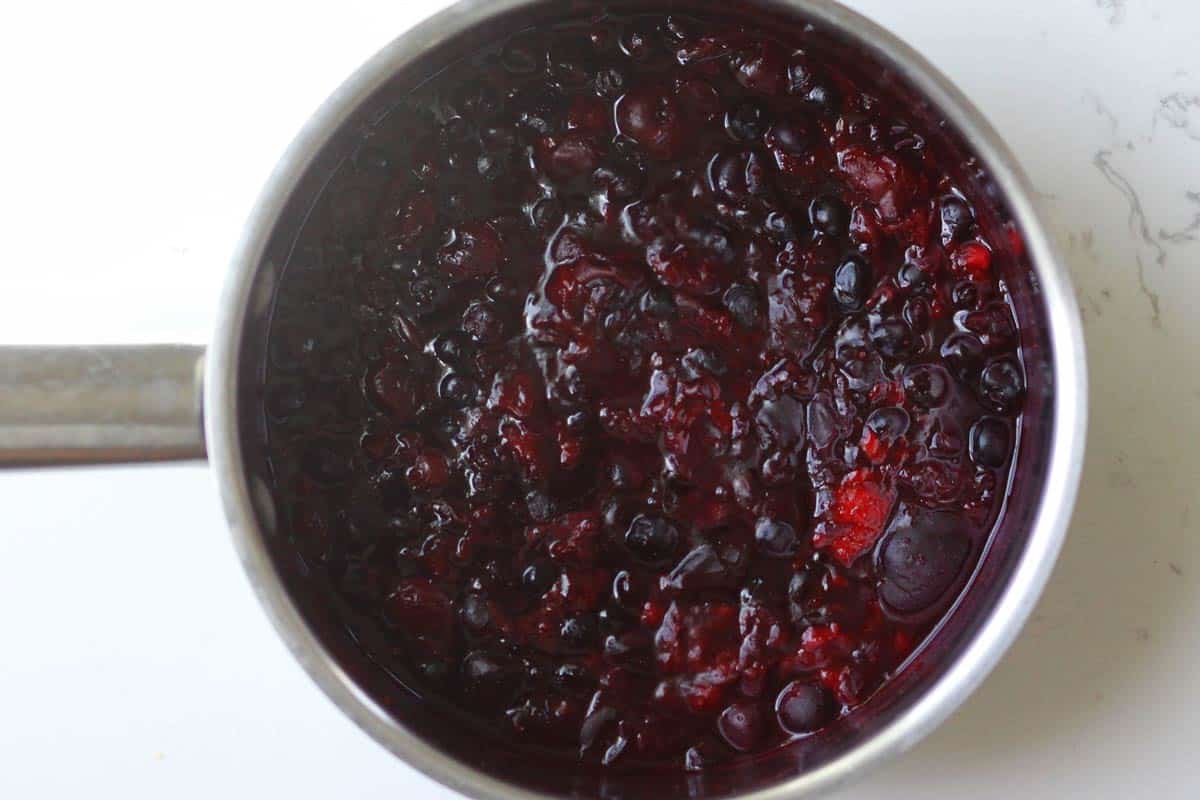
Remove a 1/2 cup of the berry mixture and stir in the cornstarch until there are no clumps left. Add the 1/2 cup of berries back to the saucepan and stir to combine.
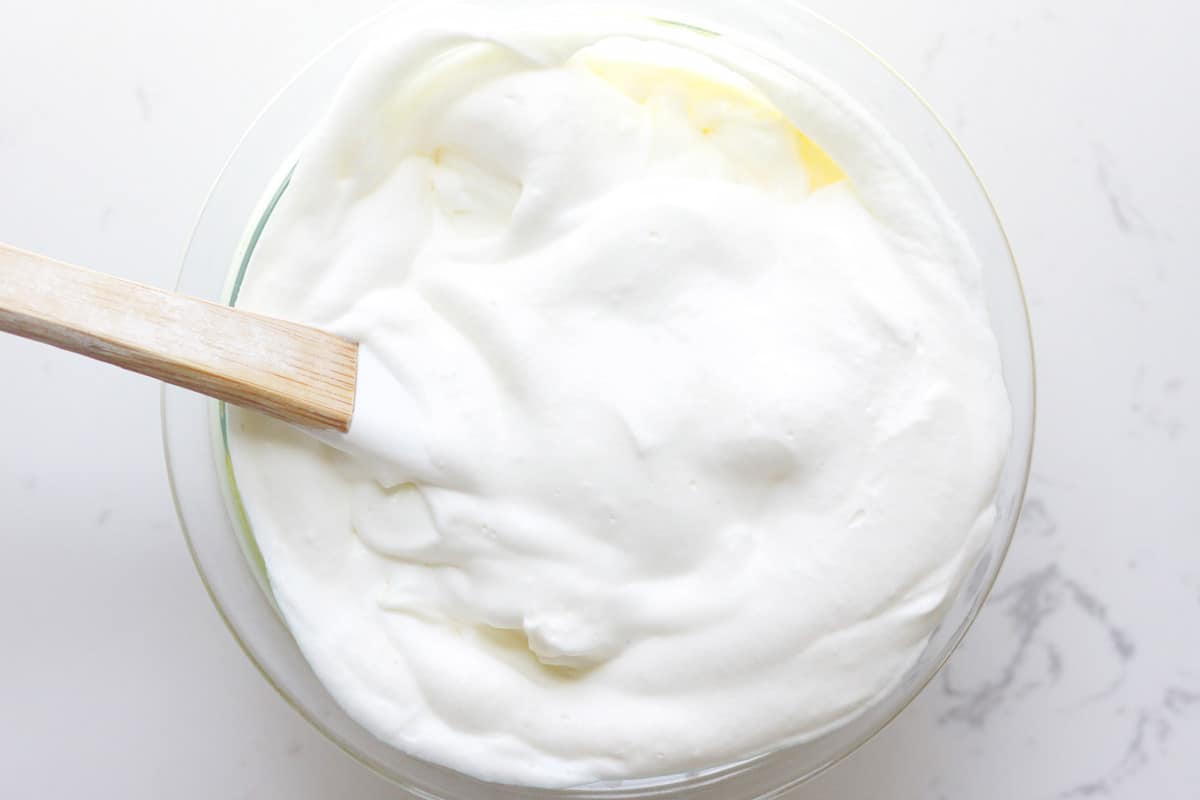
Blend – With a stand mixer or handheld beaters, beat the heavy whipping cream until soft peaks start to form. You want to be able to see shapes in the whipping cream, but not stiff peaks.
Combine – In a medium mixing bowl, stir the yogurt, honey and whipping cream together until the mixture is smooth. Don’t over mix.
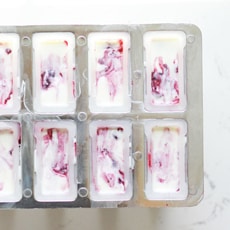
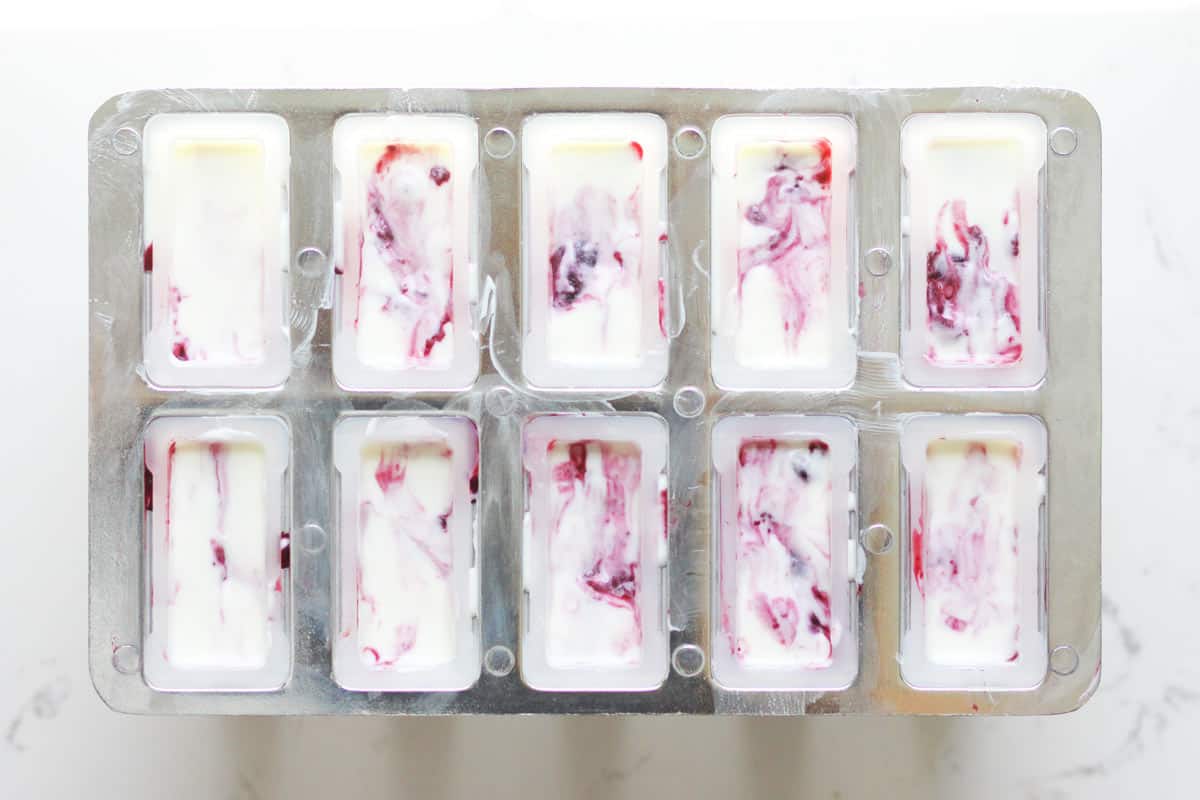
Pour – Carefully add one spoonful of the yogurt mixture into the popsicle molds. Next add a spoonful of berries. Tap to remove any air bubbles. Repeat these layers until the popsicle molds are filled but there is about 1/2 inch of empty space at the top for the mixture to be able to expand in the freezer.
Swirl – using a straw or butter knife, gently swirl the berries and yogurt together in each popsicle for a fun marbled effect.
Add Sticks – Stick the popsicle sticks in to the popsicle mixture so that there is about 1.5 inches of the stick still showing on top of the mold.
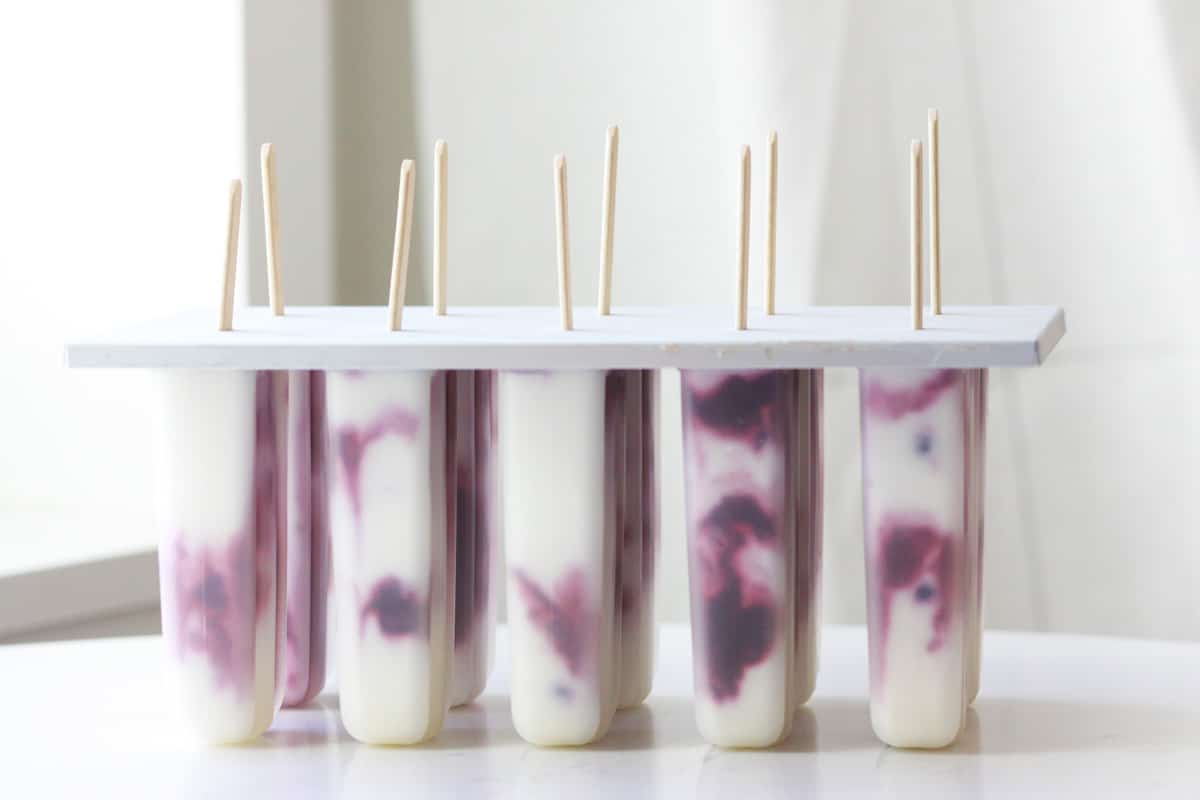
Freeze – Set the molds in the freezer and let the popsicles harden for at least 4 hours. 8 hours is better.
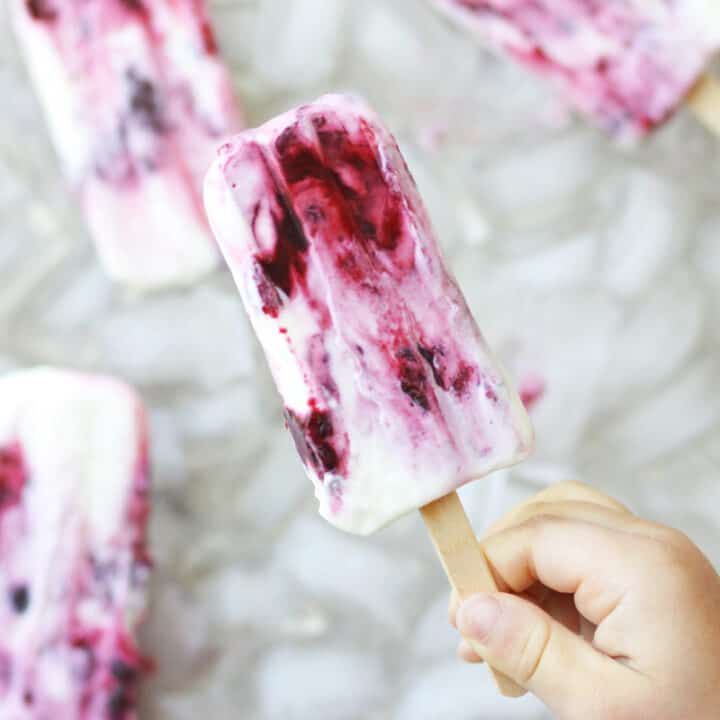
Remove From Molds – Loosen the popsicles from the molds and enjoy!
tips for success
To Serve – Remove the popsicles immediately before eating them. Loosen the molds by running them under room temperature water for 15 seconds or until the popsicles can slide out easily.
To Store – Popsicles can be kept in the freezer inside the molds for up to 2 weeks.
Variations – The fruit can be mixed into the yogurt all the way or swirled.
Substitutions – Other fruit can be substituted for berries. Peaches and mango chunks would be delicious.

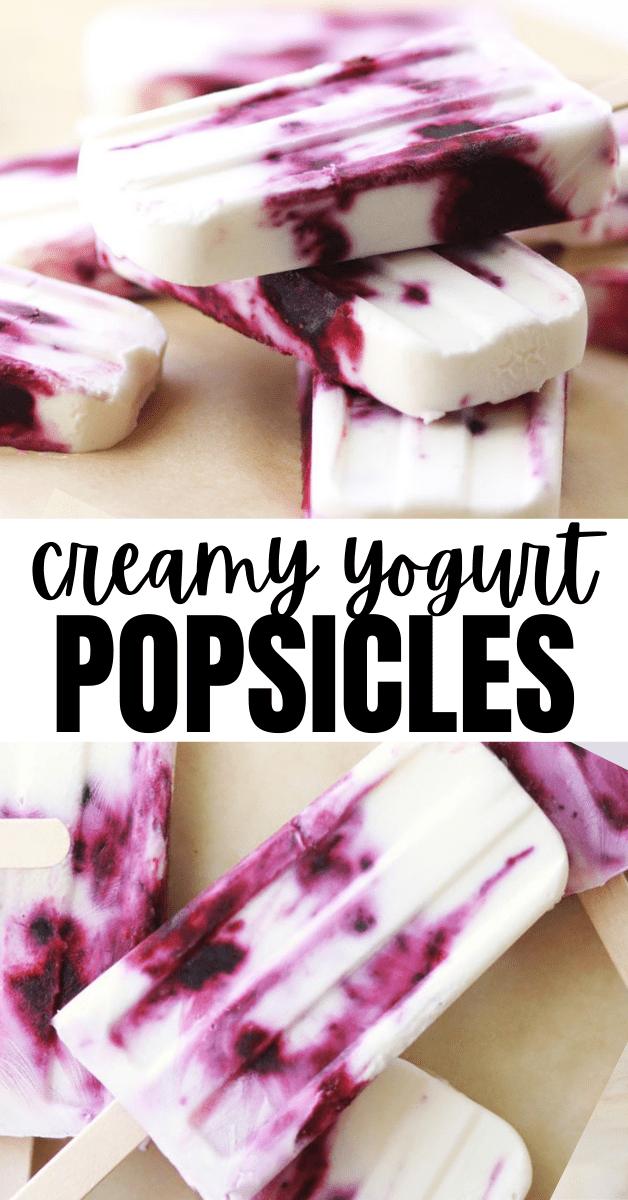
about This Recipe for blueberry yogurt popsicles
- They’re deliciously creamy, not icy
- This recipe is quick and easy to make in less than 15 minutes!
- These popsicles are healthier than store-bought ice cream bars. They’re made with Greek yogurt, honey and real berries
fAQ about homemade Greek yogurt popsicles
can you freeze yogurt into a popsicle?
Yes! Yogurt popsicles are more creamy instead of icy like typical popsicles. You can make them in a lot of different flavors by mixing yogurt with fruit or chocolate.
Mixing a little heavy whipping cream into the yogurt makes it fluffier and creamier to where you can actually bite into the popsicles without giving yourself brain freeze.
how do you make Yogurt popsicles creamy?
Popsicles that are made out of a liquid will freeze hard and have an icy texture. There are several things you can do to get creamy popsicles.
- add sugar or honey to the mixture
- use a full-fat Greek yogurt in milk-based popsicles
- add cornstarch to thicken and absorb any liquid
This recipe calls for a full fat yogurt with added heavy cream, honey to sweeten and cornstarch to thicken the mixture. The result is a popsicle that is thick, creamy and literally melts in your mouth!
how long does it take Berry yogurt popsicles to freeze?
It takes between 4 and 8 hours to freeze yogurt popsicles. I usually freeze these popsicles for 8 hours to make sure they are completely frozen before trying to un-mold them.

how long do Berry yogurt popsicles last in the freezer?
Depending on the type of popsicle molds you use, popsicles can last up to 2 months in the freezer. They can last longer if your molds are sealed very tightly around each popsicle stick. If not, they will start to develop a freezer burnt flavor.
what popsicle molds are the best?
There are so many options for popsicle molds, it can be hard to know which ones you should buy!
- This is my favorite popsicle mold, because it only has two pieces that need washing after using it. I also just like the shape of the popsicles it makes.
- If you’re making popsicles to pull out one at a time, this popsicle mold would be really practical since you can remove the popsicles individually.
- If you don’t like the idea of having to buy popsicle sticks, this mold has handles that come with it that you can wash and reuse.
- These popsicle molds would be great for toddler pops too!
how to get popsicles out of the molds the easy way?
To make it easier to get popsicles out of a batch type mold, fill your sink with about 4 inches of warm water and set the mold in the water until the popsicles have loosened enough to slide them out easily. It usually only takes about 15 seconds.
For individual popsicle molds, run each popsicle under warm running water until the mold has loosened.
More Healthy Popsicle Recipes:
Pin these steps to try later. Tag @athomeontheprairie on Instagram to share what you’ve made with us!
Yogurt Popsicles With Fruit
How to make homemade yogurt popsicles are creamy and refreshing. Made with fruit, honey and Greek yogurt swirled together to make a healthy Summer treat!
Ingredients
- 2 cups frozen berries
- 1 tablespoon cornstarch
- 1 cup plain, vanilla or honey yogurt (regular or Greek)
- 1/4 cup heavy whipping cream
- 1/3 cup honey
Instructions
- prep - In a small saucepan over medium-low heat, warm the frozen berries until they are runny and there are no frozen chunks left. Mash the berries with a fork. Remove the saucepan from heat and set aside.
- Remove a 1/2 cup of the berry mixture and stir in the cornstarch until there are no clumps left. Add the 1/2 cup of berries back to the saucepan and stir to combine.
- blend - With a stand mixer or handheld beaters, beat the heavy whipping cream until soft peaks start to form. You want to be able to see shapes in the whipping cream, but not stiff peaks.
- combine - In a medium mixing bowl, stir the yogurt, honey and whipping cream together until the mixture is smooth. Don't over mix.
- pour - Carefully add one spoonful of the yogurt mixture into the popsicle molds. Next add a spoonful of berries. Repeat these layers until the popsicle molds are filled but there is about 1/2 inch of empty space at the top for the mixture to be able to expand in the freezer.
- swirl - using a straw or butter knife, gently swirl the berries and yogurt together in each popsicle.
- add sticks - Stick the popsicle sticks in to the mold so that there is about 1.5 inches of the stick still showing on top of the mold.
- freeze - Set the molds in the freezer and let the popsicles harden for at least 4 hours. 8 hours is better.
- remove from molds - Loosen the popsicles from the molds and enjoy!
Notes
serve - Remove the popsicles immediately before eating them. Loosen the molds by running them under warm water for 15 seconds or until the popsicles can slide out easily.
store - Popsicles can be kept in the freezer inside the molds for up to 2 weeks.
variations - The fruit can be mixed into the yogurt all the way or swirled.
substitutions - Other fruit can be substituted for berries. Peaches and mango chunks would be delicious.