
How To Make Homemade Marshmallows Without Corn Syrup


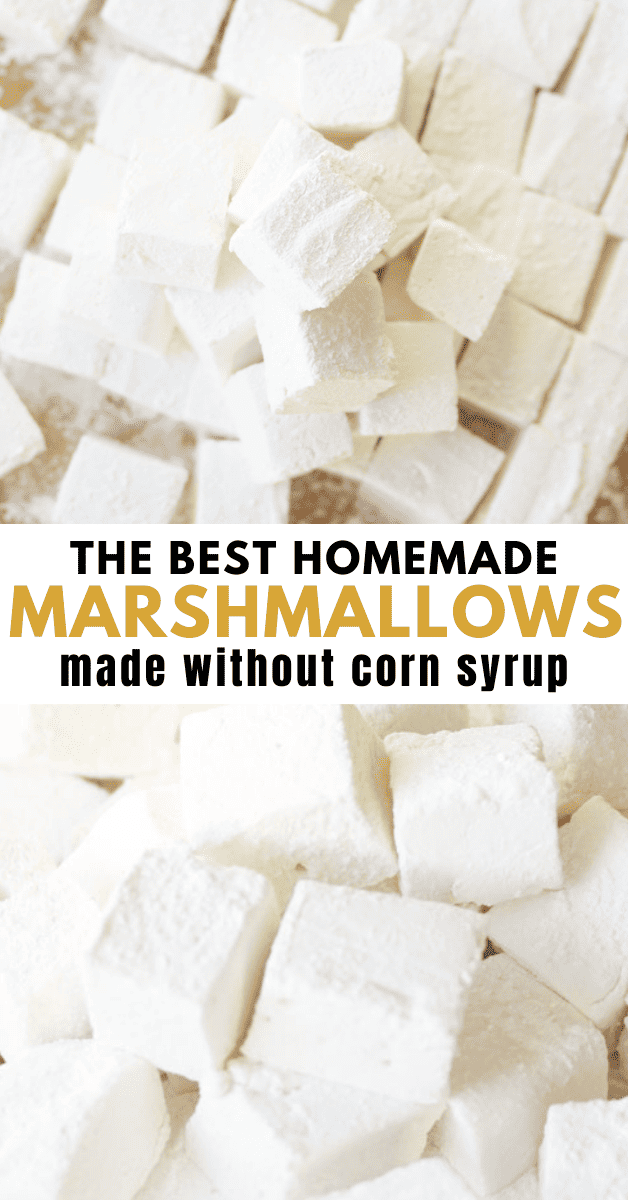


Learn how to make your own homemade marshmallows without corn syrup for a more healthy version of your favorite cocoa topping!

What You Need To Make This Marshmallows Recipe:
Ingredients
- Agave – Light agave syrup is a natural sweetener with a very mild flavor. Perfect for the sweet marshmallow flavor you’re used to.
- Sugar – Regular white granulated sugar.
- Gelatin Powder – Grass-fed gelatin powder gives the marshmallows that chewy, springy texture that makes a marshmallow, a marshmallow! This is the same gelatin I use to make This is the same gelatin I use to make homemade jello.
- Kosher Salt – Kosher salt is what I prefer to use, but table salt will work as well. You just need to use a little less of it.
- Vanilla – Pure vanilla is best for this recipe. I used my homemade vanilla extract.
- Oil – Cooking spray oil, butter or coconut oil for grease the spatula since marshmallow mixture is so sticky.
- Powdered Confectioners’ Sugar – To dust the outsides of the marshmallows with. This keeps them from sticking together and adds a bit more sweetness.
- Corn Starch – Cornstarch mixed with powdered sugar is the perfect powdery coating to go on the outside. Arrowroot powder is a good substitute if you want to avoid corn based products.
Tools to Use:
- Pot
- Whisk
- Candy Thermometer
- Stand Mixer or Hand Beaters
- Spatula
- 9 x 13 Pan
How To Make your own Marshmallows without corn syrup:
Prep – First line an 9 x 13 baking dish with parchment paper. Set aside.
Boil – In a medium pot, bring agave syrup, sugar and 1/2 cup of the water to a boil over medium-high heat. When the syrup mixture has boiled, reduce the heat to medium.
Cover the pot and continue to cook over medium heat fore 3 minutes until the sugar dissolves and there are no signs of sugar granules left.
Continue To Heat – Using a candy thermometer, let the sugar syrup continue to cook until it has reached 242-245 degrees (firm ball stage)
Prepare Gelatin – While the mixture is heating, add the remaining 1/2 cup of room temperature water and gelatin to the stand mixer bowl. Stir to combine and let the gelatin “bloom.”
Add To Mixer – Once the sugar mixture has reached 242-245 degrees, remove it form the heat. With the mixer on low, pour the hot syrup into the bowl of the stand mixer (or hand mixer), making sure to pour it down the side of the bowl so as not to scorch the bloomed gelatin mixture.
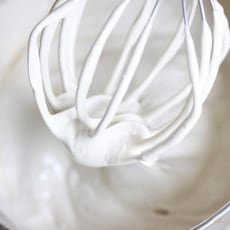
Beat – Turn the mixer to medium high speed and beat the mixture for 5 minutes.
Add the salt and vanilla extract and beat on high speed for another 5 minutes or until the mixture is glossy and white.
Pour Into Baking Dish – Using a silicone spatula that has been rubbed down with coconut or butter, quickly spread the marshmallow mixture into the prepared pan.

Let Sit – Let sit uncovered for 6-8 hours or overnight.
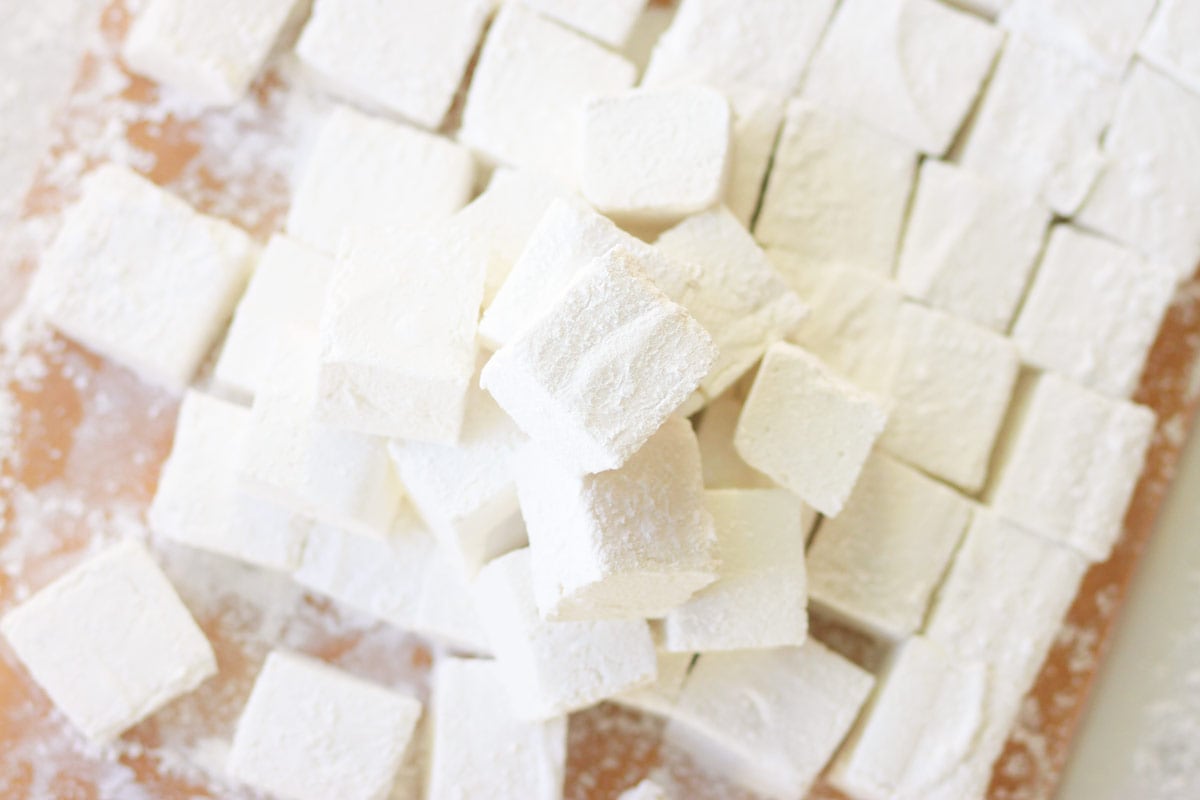
Cut Into Squares – After the marshmallow cream has set, turn it onto the kitchen counter or a large cutting board. Using a large knife that has been rubbed down with coconut oil or butter, cut marshmallows into 2 inch squares.
Coat With Sugar – In a small bowl, mix cornstarch and powdered sugar. Toss the marshmallows in the cornstarch mixture, making sure all sides get coated.
Tips For Making Homemade Marshmallows:
Don’t Under-Whip – Make sure the marshmallow mixture is whipped to the point of forming soft peaks. The mixture should hold its shape for at least a few seconds after the mixer is stopped.
Don’t Over-Whip – Whipping the marshmallow mixture past the glossy, soft peaks point will result in tough marshmallows.
To Serve – These marshmallows are delicious eaten by themselves, in your hot cocoa, or roasted over a bonfire. They can be used in place of store bought marshmallows in rice crispy treats too!
You have to try these marshmallows with my homemade hot cocoa mix!
To Store – Homemade marshmallows are best eaten within the first week, but will last in an air-tight container for up to two weeks.
Substitutions – Honey or maple syrup can be used in place of agave syrup in this recipe. The flavor will be much different though.
Arrowroot powder can be used instead of cornstarch.
Variations – These marshmallows can be made in an 8×8 baking dish if you want larger marshmallows. A sheet pan can be used to make mini marshmallows.
FAQ About This Honey Marshmallow Recipe:
what Can You Use In Place Of Corn Syrup In Homemade Marshmallows?
Corn syrup is the most common main ingredient in marshmallows ( both store-bought and homemade). But it’s easy to replace with healthier options. Honey, pure maple syrup and agave syrup are great substitutes for corn syrup.
Since honey and maple syrup have distinct flavors, your marshmallows will end up with a hint of those flavors. Agave syrup is the best choice for more traditional marshmallow flavor.

Are Homemade Marshmallows Better Than Store-Bought?
Marshmallows from the grocery store almost all contain high fructose corn syrup, an artificial sugar that can lead to health issues such as high blood pressure and obesity. Making marshmallows from scratch, you can substitute healthier sweeteners in its place.
Homemade marshmallows also contain gelatin which is good for healthy bones, skin and nails.
Homemade marshmallows are lighter and fluffier and much more flavorful than store-bought. They might cost more to make than to buy, but the results are worth it.
If you haven’t tried homemade marshmallows in homemade hot chocolate from scratch, you don’t know what you’re missing!
are Marshmallows without corn syrup Gluten Free?
This recipe is! Most homemade marshmallows are gluten free since the ingredients are basically, a sugary product and gelatin.
How To Store Homemade Marshmallows
Marshmallows are very sticky so they need a generous coating of powdered sugar and cornstarch on the outside to keep them from becoming a marshmallow mess.
Homemade marshmallows should be stored in an airtight container with an extra scoop of powdered sugar/cornstarch mixture to help them stay fresh.
To make your marshmallows last extra long, just place them in a sealed gallon sized freezer bag and store in the freezer to pull out as you need them!

Why Are My Homemade Marshmallows Turning Out Sticky?
If your homemade marshmallows are too sticky after coating in powdered sugar, its probably because they were not whipped long enough.
More Homemade Marshmallow Recipes You Might Enjoy:
If you liked this recipe, I think you’ll really enjoy these other healthier marshmallow recipes on the blog!
- Strawberry Marshmallows Recipe
- Fluffy Homemade Marshmallow Cream
- Homemade Peppermint Marshmallows
- Strawberry Marshmallow Fluff Recipe
I hope you love this healthy homemade marshmallows recipe! If you make it, I’d love for you to come back and leave a comment and rating so that I know how you like it!
Pin these steps to try later. Tag @athomeontheprairie on Instagram to share what you’ve made with us!

Marshmallows Without Corn Syrup
Learn how to make your own homemade marshmallows without corn syrup for a more healthy version of your favorite cocoa topping!
Ingredients
- 2 cups granulated sugar
- 1 cup water (divided)
- 1/2 cup light agave syrup
- 2 - 1/2 tablespoons gelatin powder
- 1/4 teaspoon kosher salt
- 1 teaspoon vanilla extract
- 1/4 cup powdered sugar
- 1/4 cup cornstarch
Instructions
- First line an 9 x 13 baking dish with parchment paper. Set aside.
- In a medium pot, bring agave syrup, sugar and 1/2 cup of the water to a boil over medium-high heat. When the syrup mixture has boiled, reduce the heat to medium.
- Cover the pot and continue to cook over medium heat fore 3 minutes until the sugar dissolves and there are no signs of sugar granules left.
- Using a candy thermometer, let the sugar syrup continue to cook until it has reached 242-245 degrees (firm ball stage)
- While the mixture is heating, add the remaining 1/2 cup of room temperature water and gelatin to the stand mixer bowl. Stir to combine and let the gelatin “bloom.”
- Once the sugar mixture has reached 242-245 degrees, remove it form the heat. With the mixer on low, pour the hot syrup into the bowl of the stand mixer (or hand mixer), making sure to pour it down the side of the bowl so as not to scorch the bloomed gelatin mixture.
- Turn the mixer to medium high speed and beat the mixture for 5 minutes.
- Add the salt and vanilla extract and beat on high speed for another 5 minutes or until the mixture is glossy and white.
- Using a silicone spatula that has been rubbed down with coconut or butter, quickly spread the marshmallow mixture into the prepared pan.
- Let sit uncovered for 6-8 hours or overnight.
- After the marshmallow cream has set, turn it onto the kitchen counter or a large cutting board. Using a large knife that has been rubbed down with coconut oil or butter, cut marshmallows into 2 inch squares.
- In a small bowl, mix cornstarch and powdered sugar. Toss the marshmallows in the cornstarch mixture, making sure all sides get coated.
Notes
Don’t Under-Whip – Make sure the marshmallow mixture is whipped to the point of forming soft peaks. The mixture should hold its shape for at least a few seconds after the mixer is stopped.
Don’t Over-Whip – Whipping the marshmallow mixture past the glossy, soft peaks point will result in tough marshmallows.
To Serve – These marshmallows are delicious eaten by themselves, in your hot cocoa, or roasted over a bonfire. They can be used in place of store bought marshmallows in rice crispy treats too!
To Store – Homemade marshmallows are best eaten within the first week, but will last in an air-tight container for up to two weeks.
Substitutions – Honey or maple syrup can be used in place of agave syrup in this recipe. The flavor will be much different though.
Arrowroot powder can be used instead of cornstarch.
Variations – These marshmallows can be made in an 8×8 baking dish if you want larger marshmallows. A sheet pan can be used to make mini marshmallows.
This post contains affiliate links, which means I make a small commission at no extra cost to you. Get my full disclosure here.


Hi! Tried this recipe and love it!! How would you use it to make rice crispy bars? Would you let the marshmallows dry and cut them, then proceed as with store bought marshmallows, or would you stir the rice crispys in before spreading in the pan?
Hi Kirsten! I would just mix the rice crispies and butter in without going through the drying part. Let me know how it turns out!