
Simple And Easy Instant Pot Vanilla Yogurt
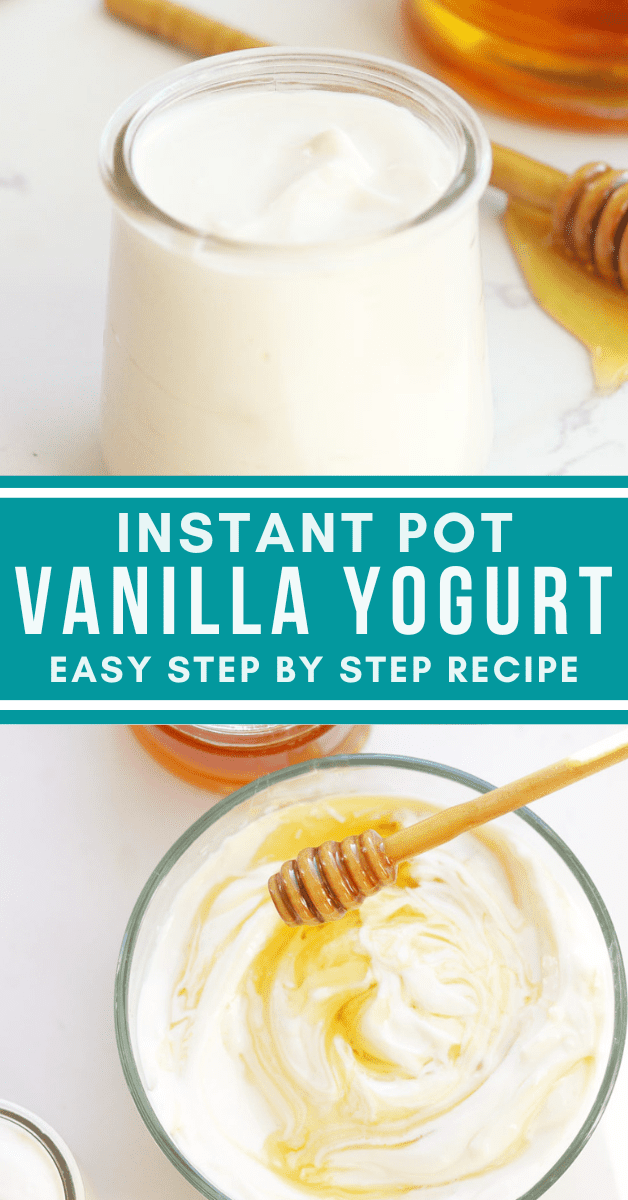
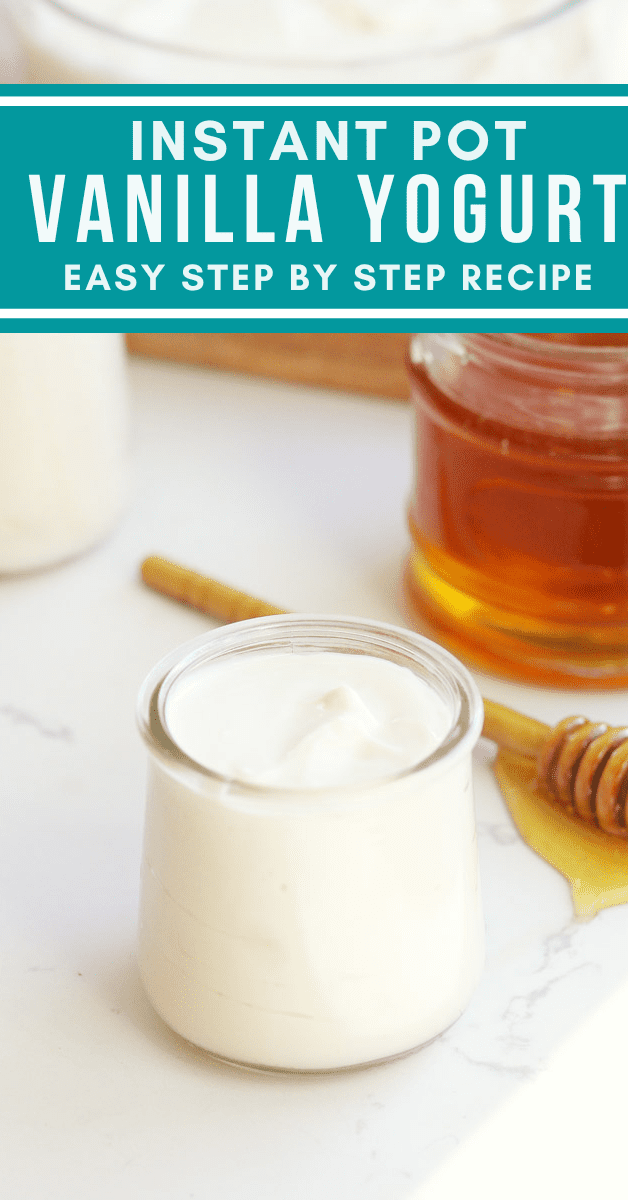
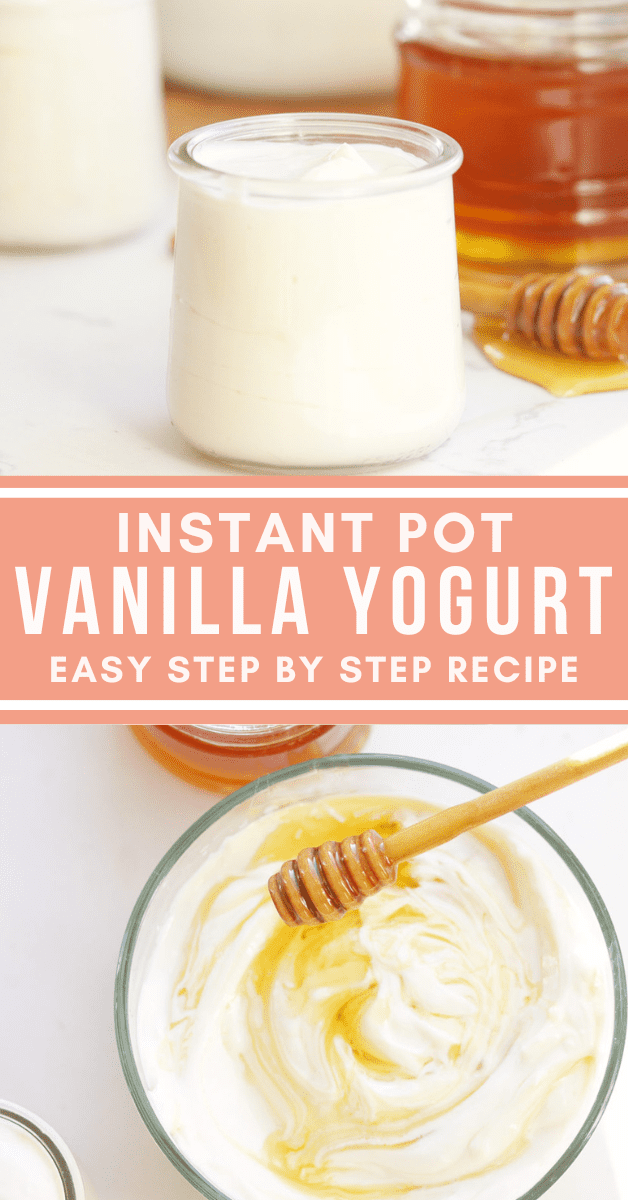
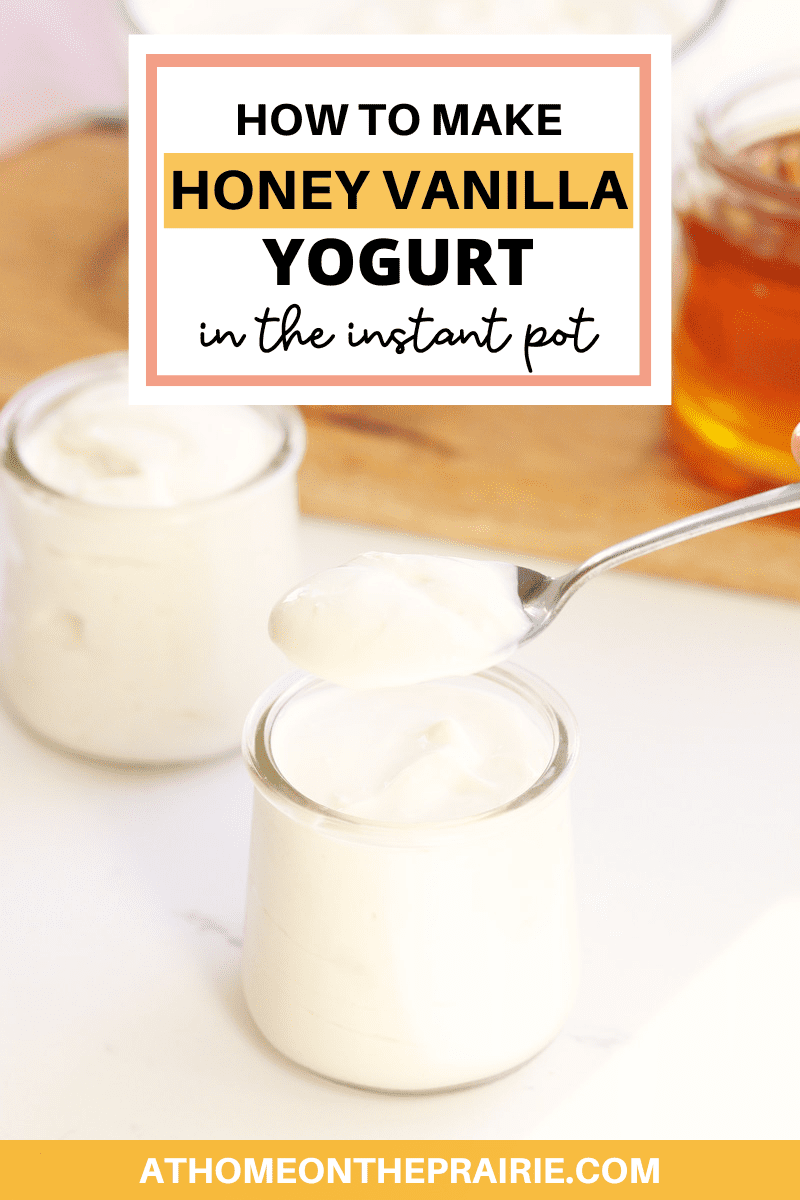
Making homemade vanilla Greek yogurt in the instant pot is as simple as two ingredients and 10 minutes of active prep work! It’s thick, creamy and perfectly sweet and tangy.

As a family of nine, we can easily go through about a gallon of yogurt a week. Aside from eating a cup of yogurt with most of our lunches, we add it to so many recipes! Parfaits, smoothies, baked oatmeal, overnight oats, fruit dip or in place of sour cream sometimes.
You have to try using homemade yogurt in my kids’ favorite healthy fudgesicle recipe!
If we were buying a gallon of yogurt from the store each week, we’d easily be spending $20 on it. That’s just not going to work with our budget!
Making homemade yogurt in the instant pot has been a game changer for our family. We can enjoy as much gut healthy yogurt as we want for a fraction of the cost of store-bought Greek yogurt. And it only takes a few minutes of hands on prep!
So, if you’ve been wondering whether or not an instant pot is worth buying, I say it definitely is! Even if you just used it for making yogurt, you could save hundreds of dollars a year switching to homemade.
My favorite way to enjoy yogurt is to sweeten it with maple syrup, top it with frozen berries and chunky homemade granola. So, so good.
This post contains affiliate links, which means I make a small commission at no extra cost to you. Get my full disclosure here.
what you need to make instant pot vanilla yogurt
Ingredients
- Milk – While you can use any cow’s or goat’s milk to make yogurt, whole milk will give you the thickest and creamiest result. Using low fat milk does work, just not as well.
- Starter – Yogurt starter contains the live cultures that will multiply and turn the milk into yogurt. I use a 1/2 cup of plain (or vanilla) Greek yogurt as my starter. Make sure the yogurt you use contains “live and active cultures”. Chobani and Fage are good choices.
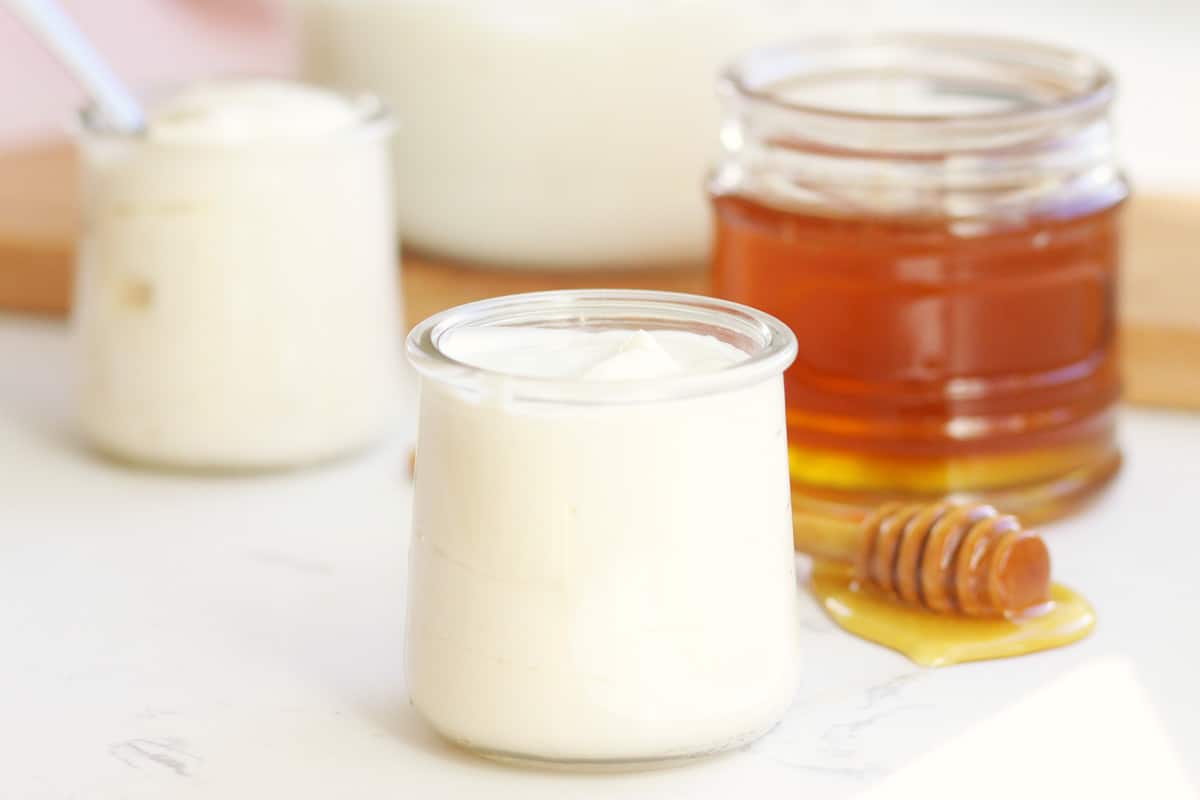
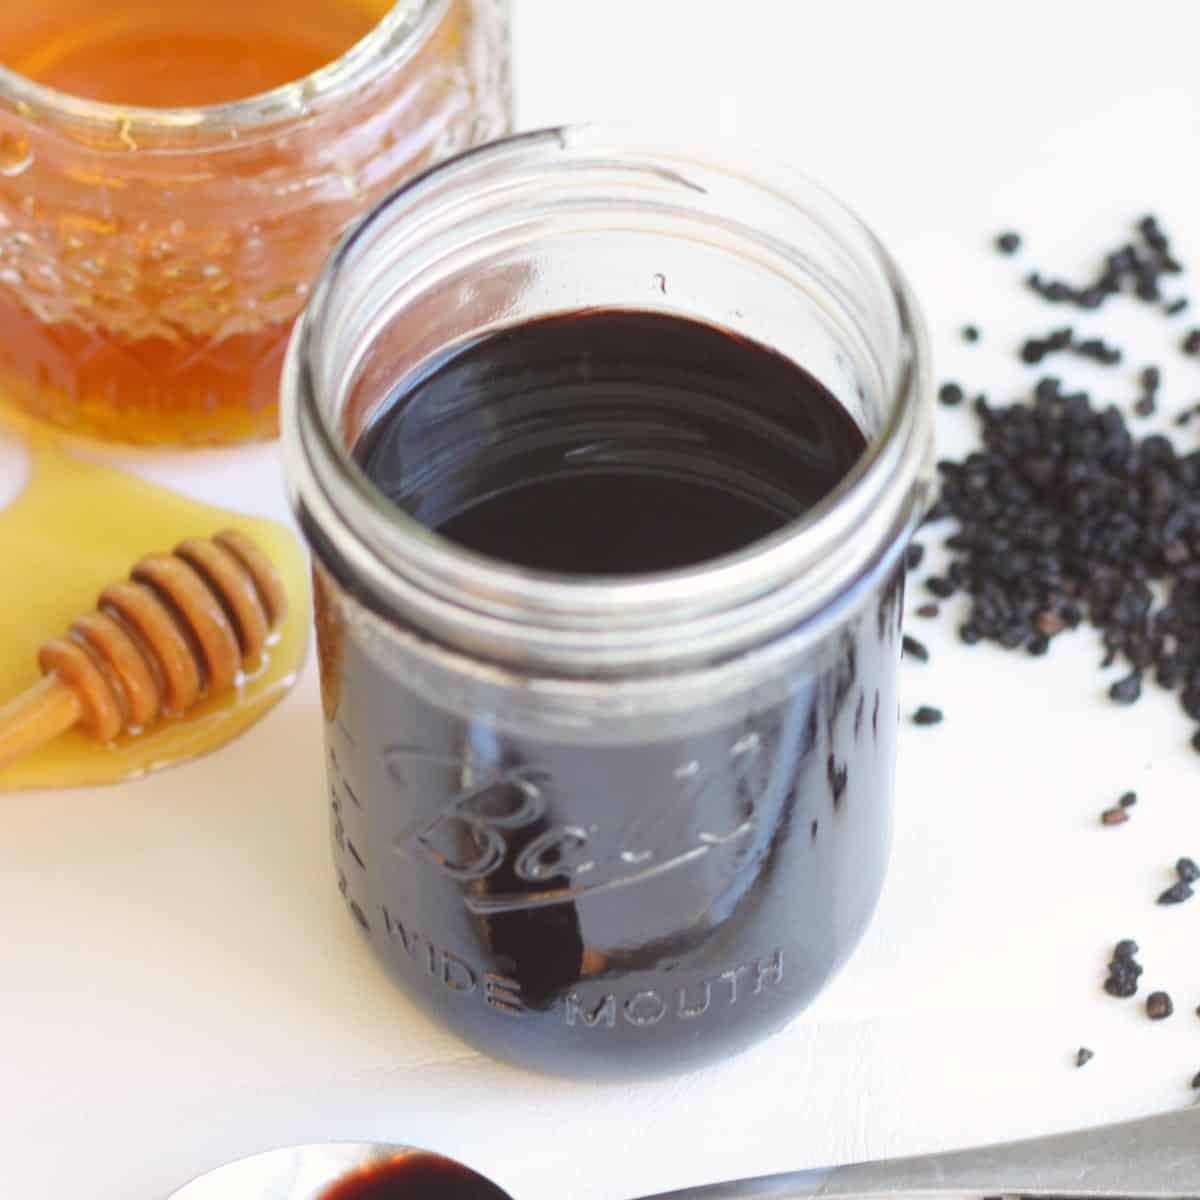
- Honey – While you can definitely your yogurt unsweetened, honey should be added for a traditional sweet vanilla yogurt flavor. Maple syrup is a good alternative.
- Vanilla – You can’t have vanilla yogurt without vanilla! Use pure vanilla extract or even homemade vanilla extract.
supplies
- Instant Pot – For this recipe, make sure your instant pot has a yogurt function button.
- Thermometer – It’s important to use a thermometer when you heat up the milk to make sure it isn’t overheated, killing the bacteria needed to make yogurt.
- Whisk – To mix the starter into the milk.
- Colander – For a thicker yogurt that is the consistency of Greek yogurt, it needs to be strained.
- Coffee Filters – I’ve tried a variety of methods for straining yogurt, and I’ve had the best success lining a colander with coffee filters. You can use cheesecloth if you’d rather.
how to make instant pot vanilla yogurt
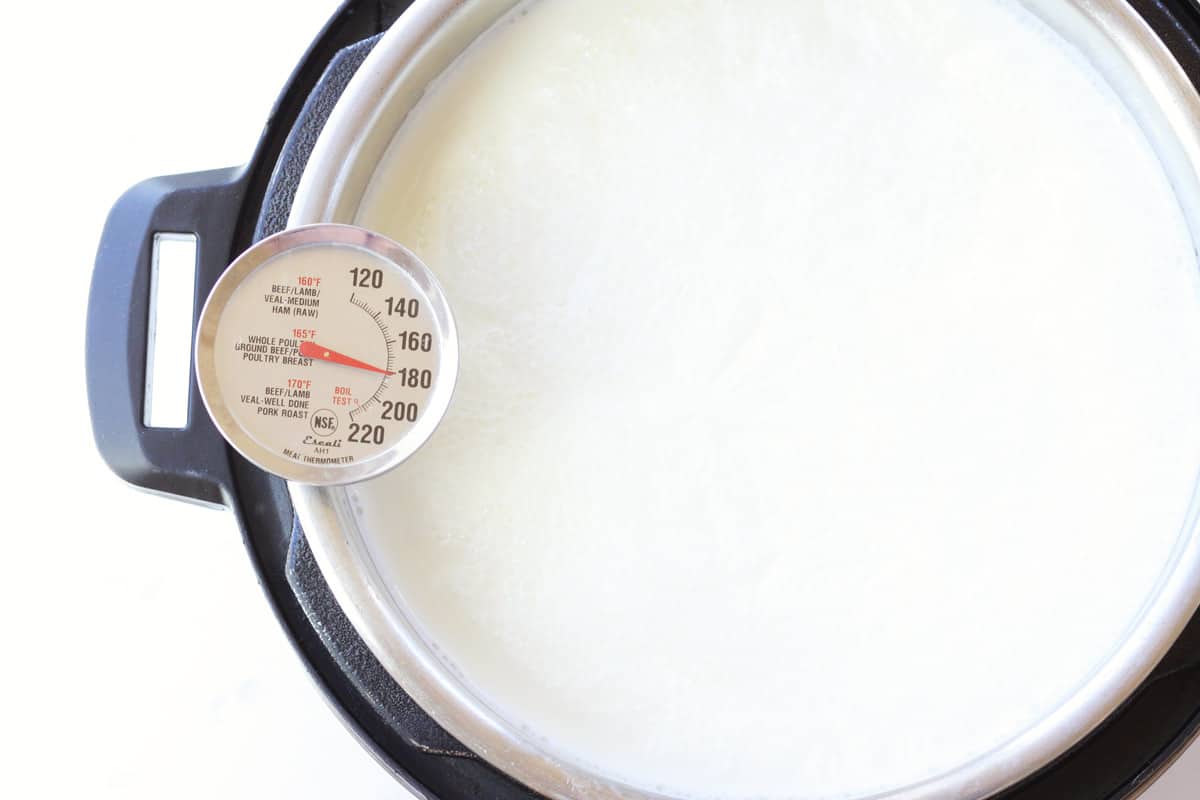
Prep – Make sure your instant pot smells clean and free of any smells from the last thing you made in it. Mine can smell like onions sometimes, so I always double check to make sure I won’t be making onion flavored yogurt! Pour milk into the inner pot of your instant pot and hook a thermometer onto the edge of the pot.
Heat the Milk – Press the “Sauté” button and let the milk heat until it reaches 180 degrees. Heating the milk kills bacteria that will keep the milk from turning into yogurt.
Cool – Remove the inner pot of the instant pot and let it sit on the counter until the milk has cooled down to room temperature or about 110 degrees. (this step can take a few hours)
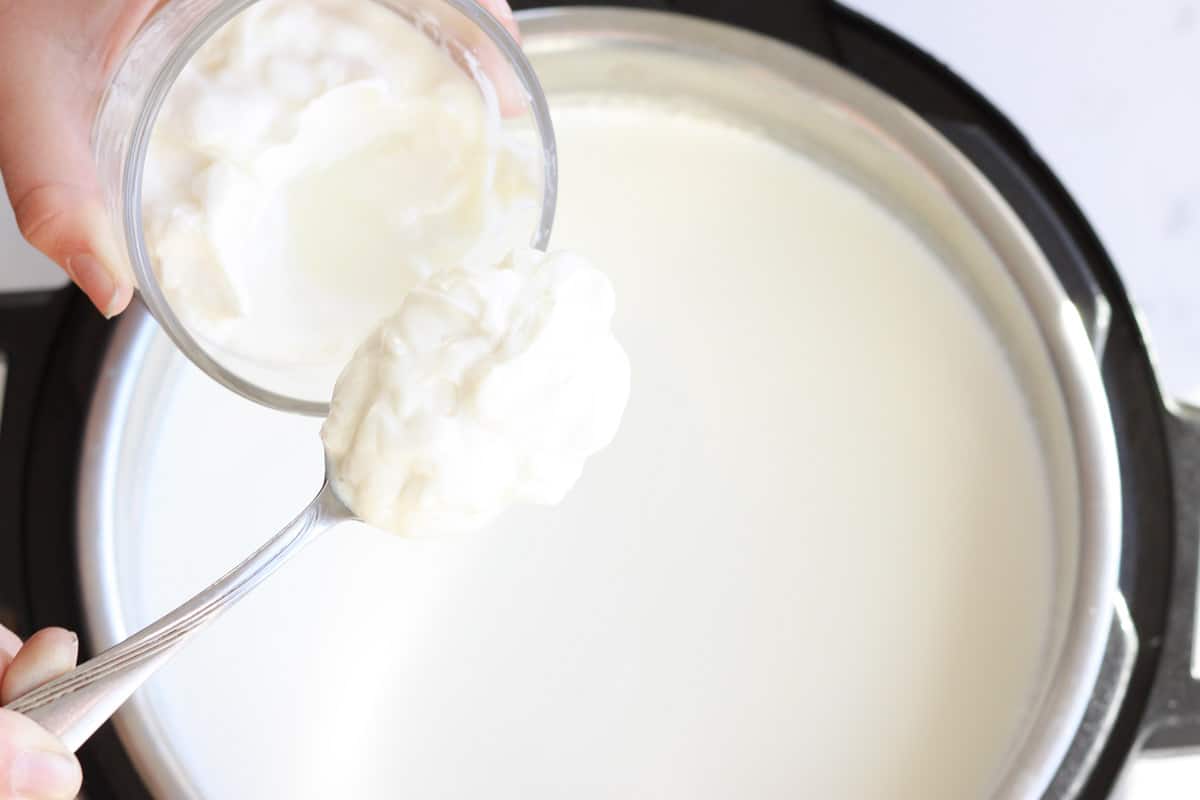
Add the Starter – Set the inner pot back into the instant pot and pour in your yogurt culture. Lightly whisk the milk and starter together.
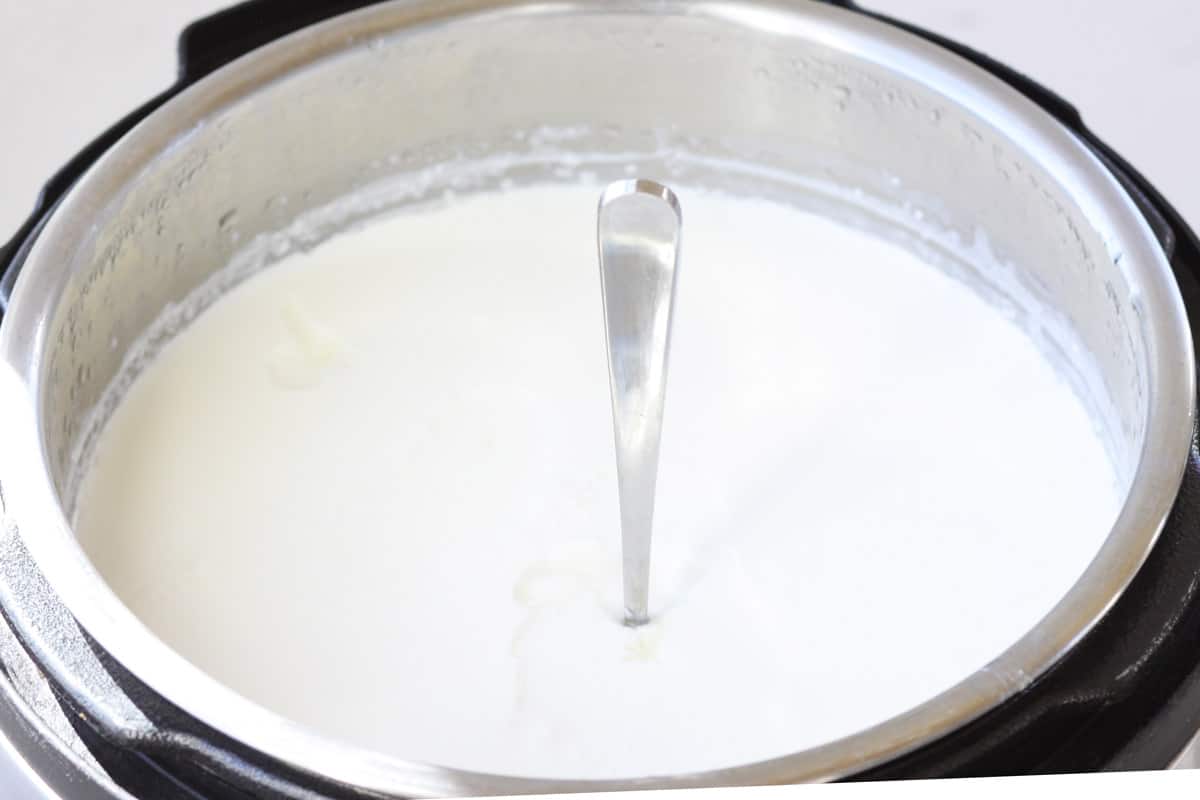
Use the Yogurt Setting – Remove the rubber gasket from the instant pot lid (to keep any other flavors from affecting the yogurt) and set the lid onto the instant pot. (you could just cover it with plastic wrap instead) No need to make sure it locks.
Press the yogurt button on the instant pot. Using the arrow buttons, set the time to 9 hours.
When the 9 hours are up and the instant pot beeps, remove the inner lining of the instant pot.
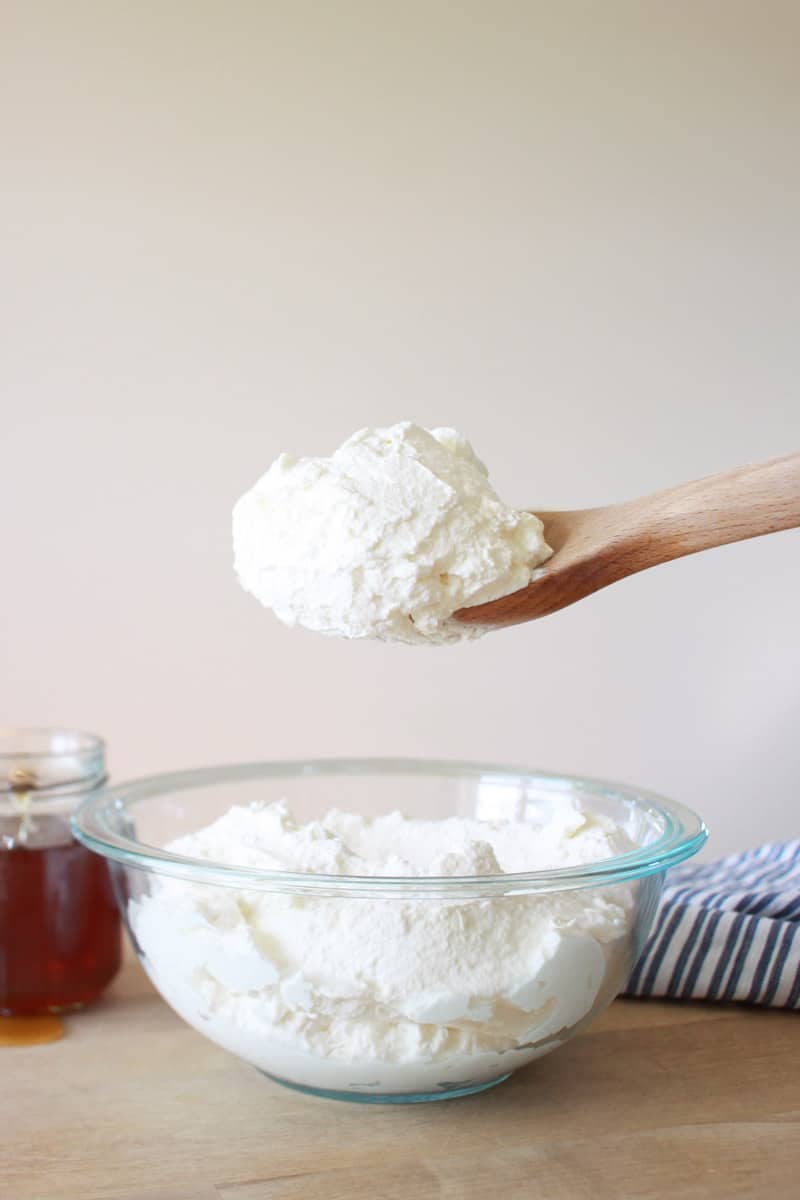
Strain the Yogurt – Set a large colander/strainer over a large bowl. Line the colander with coffee filters or cheesecloth. Pour all of the yogurt into the colander and let most of the excess liquid (whey) strain out so that your yogurt is nice and thick.
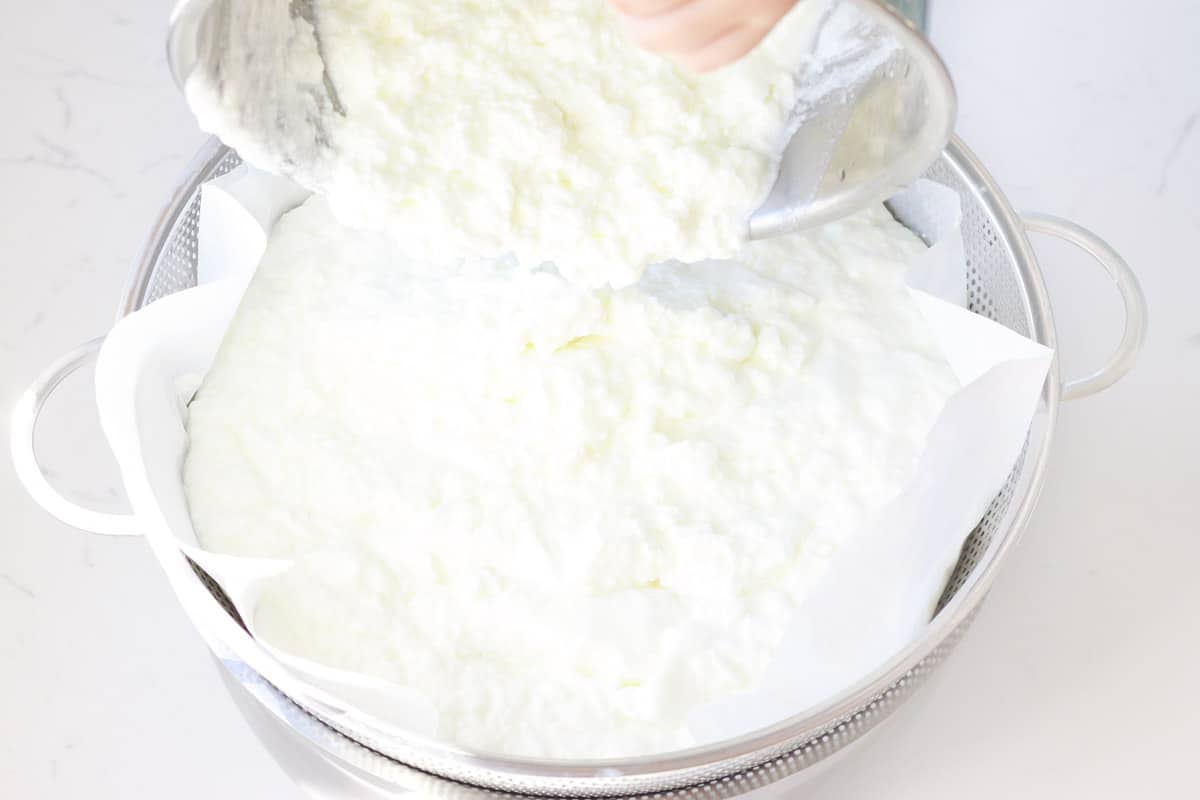
This process can take awhile so it’s best to set the colander and bowl in the fridge. Let the yogurt strain for 12-24 hours until the consistency isn’t runny anymore and it’s looking almost as thick as cream cheese.
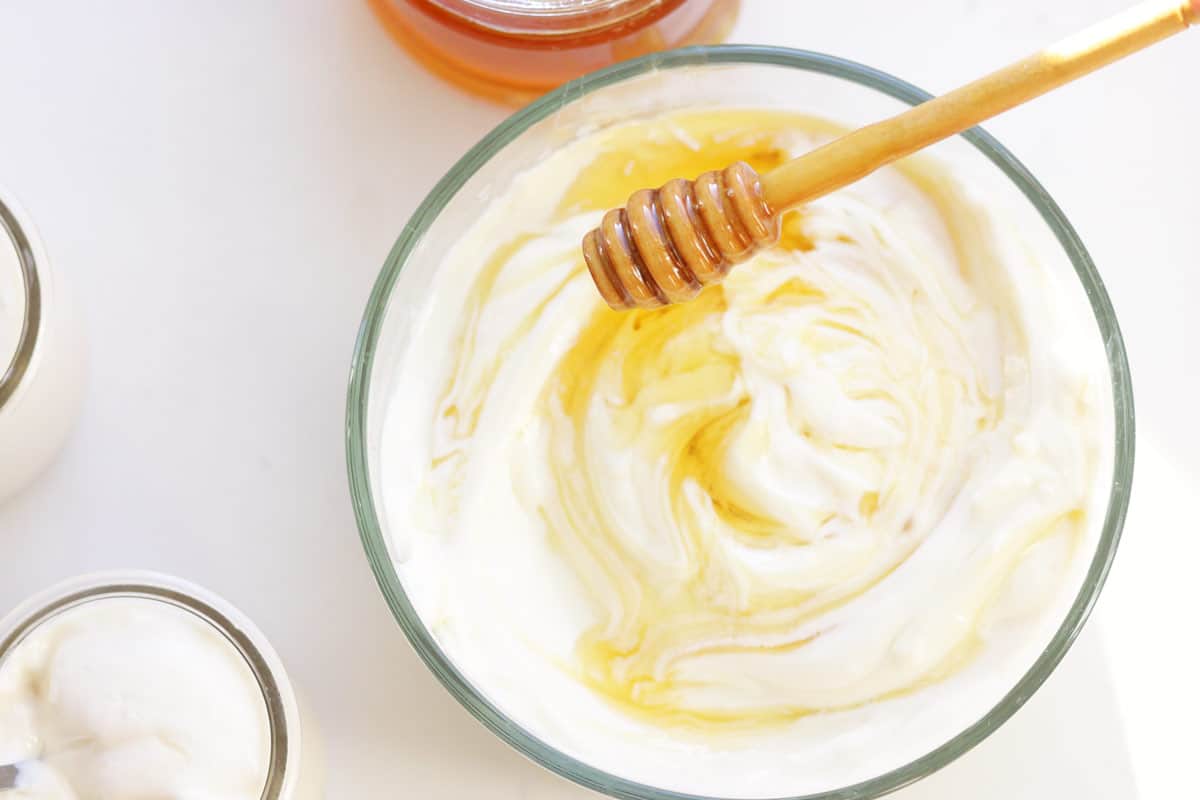
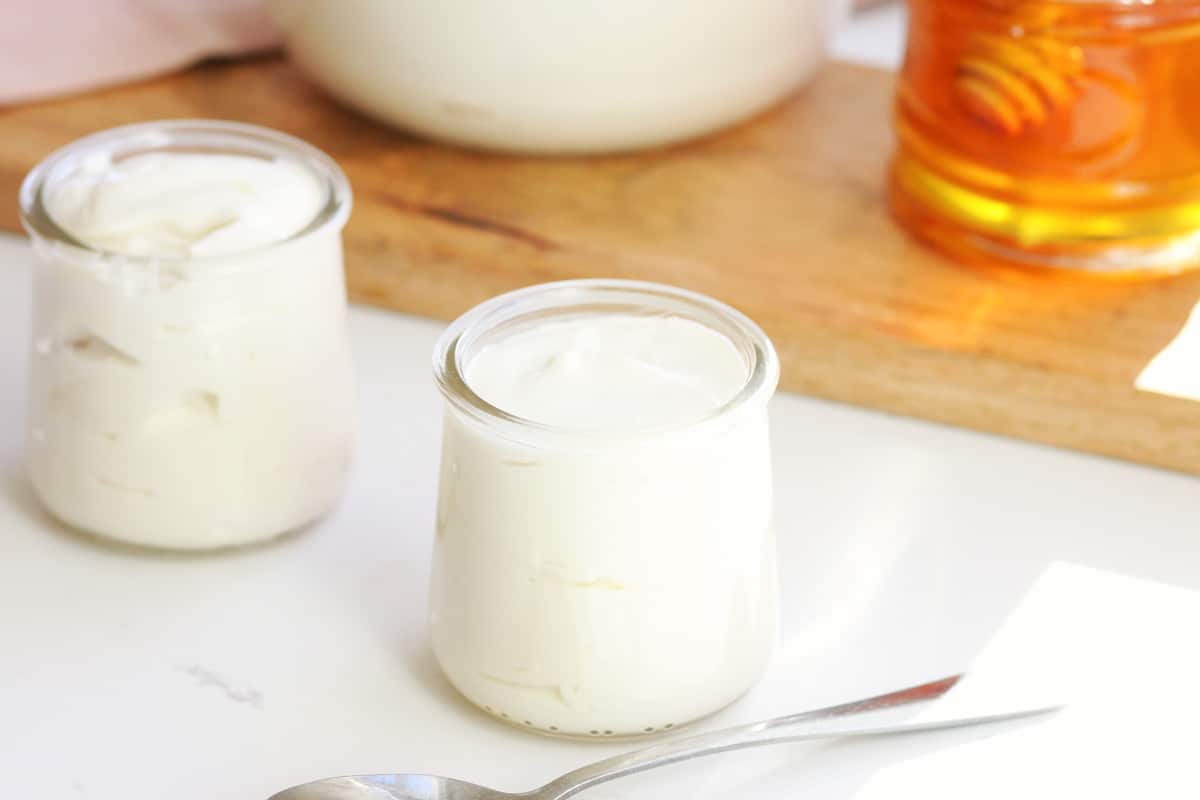
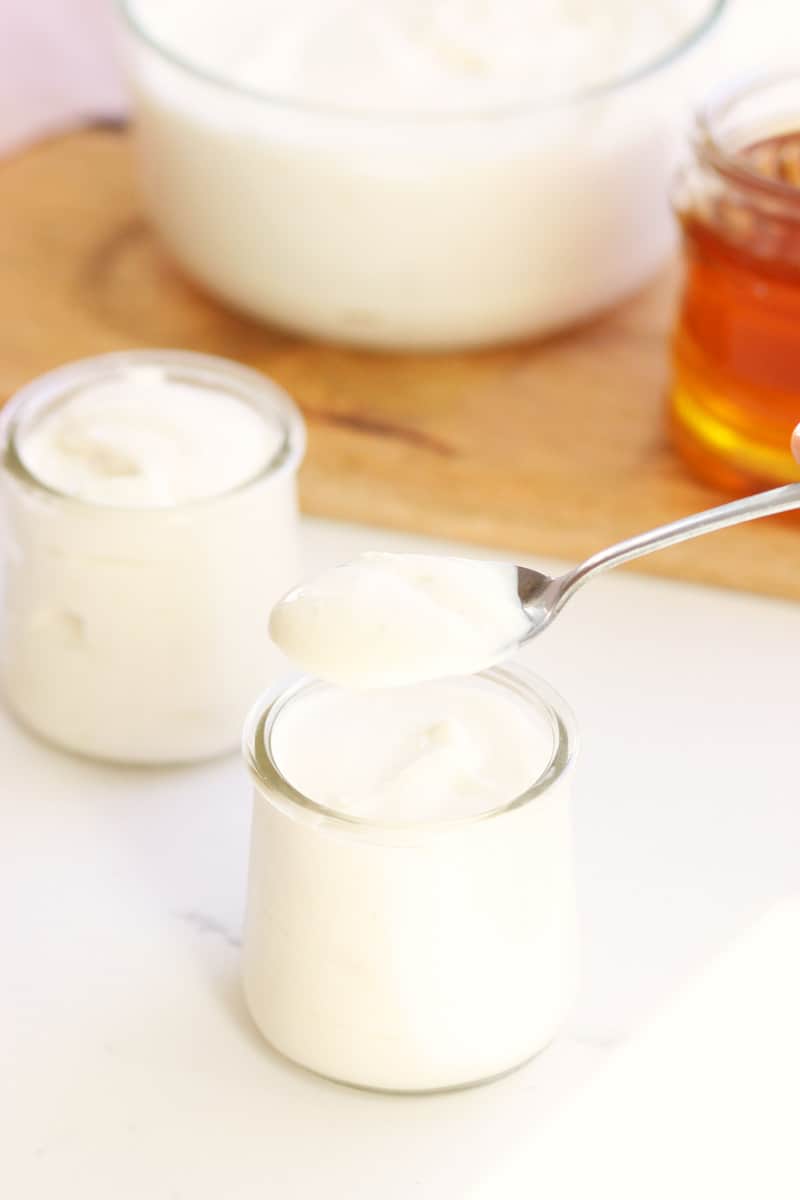
Flavor the Yogurt – When the consistency is right. Put the yogurt in a bowl and stir in honey and vanilla extract.
Tips For Success
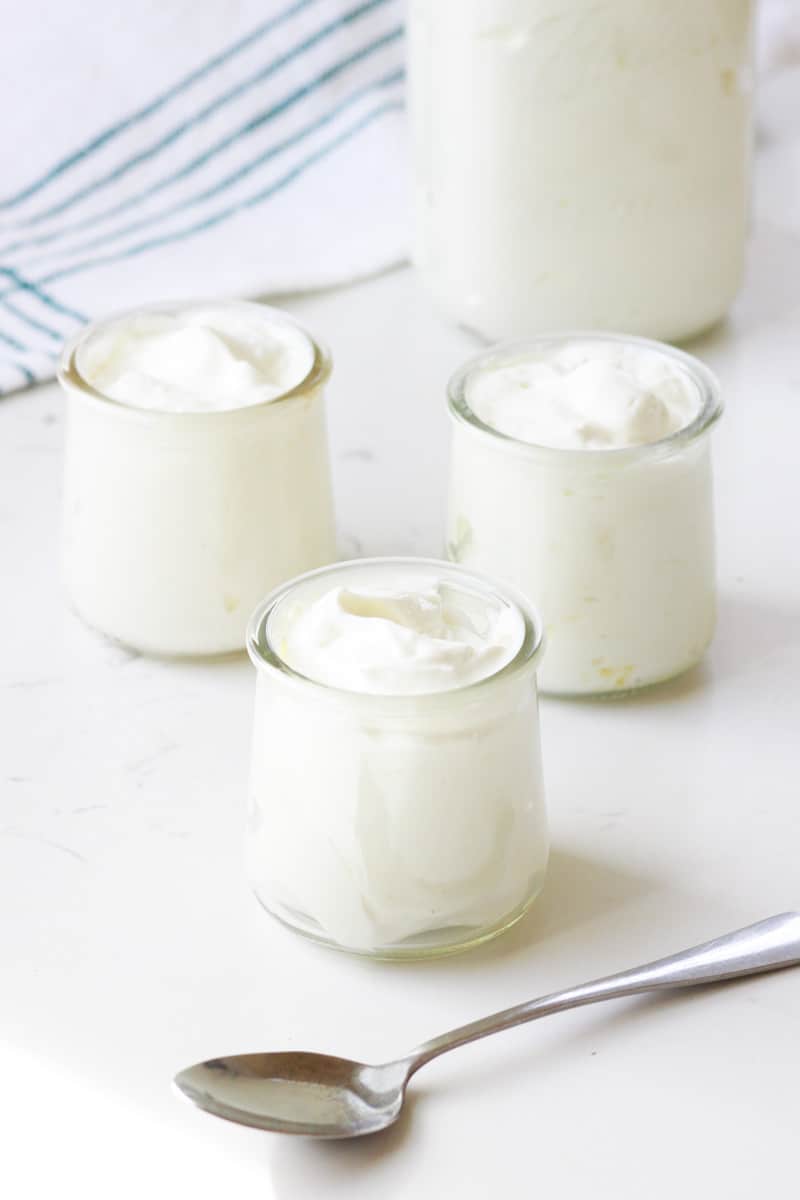
To Serve – Enjoy homemade vanilla yogurt the same way you would use store-bought. In smoothies, baked goods, parfaits or just by itself.
To Store – Homemade yogurt can be stored in the fridge for up to 2 weeks.
Substitutions – Any cow’s or goat’s milk can be used to make instant pot yogurt. I recommend whole milk for the creamiest results.
Pure maple syrup can be used in place of honey.
Starter Options – After you make your first pot of yogurt, save 1/2 cup of yogurt to use as the starter for your next batch! Over time, the cultures in the yogurt will weaken, so you’ll have to use store-bought starter when that happens.
Variations – Make different flavored yogurts by stirring in jam or fruit.
why you should make your own vanilla yogurt
- It’s absolutely delicious, thick and creamy with a tangy yogurt flavor. Sweetened with honey or flavor it with vanilla for the most delicious snack.
- Homemade yogurt is actually healthier than store-bought that usually contains artificial thickeners, and additives.
- It’s super simple and easy to make and once you make it once, you’ll make it regularly!
- You can make your own yogurt for less than half the cost of the leading brand of store-bought Greek yogurt.
- It only takes 4 simple ingredients: milk, a yogurt starter, vanilla nd honey.
why you’ll love this recipe
delicious
Homemade vanilla yogurt is super thick and creamy with a real vanilla flavor. It’s sweetened with honey for a perfectly sweet but healthy snack.
healthier than store-bought
Store-bought yogurt usually contains artificial thickeners, and additives. They’re also made with a lot of sugar that you can avoid by making it yourself.
This recipe calls for only 4 ingredients, so you know exactly what you’re eating.
easy to make
You might not believe me when you glance over the recipe since there are a lot of steps, but I promise, once you’ve made instant pot yogurt once or twice, you won’t need to refer back to the recipe again. It’s that simple to make!
FAQ about instant pot vanilla yogurt
is it worth it to make yogurt in an instant pot?
Definitely! Homemade yogurt is so simple to make using only 2 ingredients. Not to mention it ends up being only a fraction of the cost of store-bought yogurt!
what can you use as a starter for instant pot yogurt?
There are several different kinds of starter you can use to make instant pot yogurt:
- 1/2 cup of store-bought yogurt that contains live and active cultures is the most common starter for making homemade yogurt.
- 1/2 cup of homemade yogurt can be saved from your batch of yogurt to use as a starter next time you want to make yogurt. After awhile the probiotic strains will get weaker and weaker and you will need to buy a fresh starter again.
- premium probiotic powder can also be used as a starter. Make sure it contains these live and active cultures: Lactobacillus bulgaricus, Streprococcus thermophilus, Bifidobacterium lactis or Lactobacillus acidophilus. A quality probiotic powder will require refrigeration.
- leftover whey that was strained form your last batch of homemade yogurt. Don’t throw that yellow liquid away! It’s full of probiotics and can even be used to make another batch of yogurt!
what can you do with leftover whey liquid?
Whey is the yellowish liquid you’re left with after straining homemade yogurt. You might be frustrated with how much whey you get compared to yogurt, but don’t be! Whey is high in vitamin B, calcium and probiotics.
Here are some ways to use whey (pun intended):
- in place of water or milk in baked goods
- in place of buttermilk
- smoothies
- in overnight oats recipes
- pancakes and waffles
- in sourdough bread
- as starter for making yogurt
- to make certain cheeses
- in baked oatmeal recipes
- soak chicken feed in whey
- freeze for later
what kind of milk can you use to make instant pot yogurt?
Any kind of cow’s or goat’s milk can be used to make instant pot yogurt. While you can use either whole, 2% or skim milk, whole fat milk will give you the best results.
The higher the fat content in the milk you use to make yogurt, the sweeter and more consistent texture you will get.
why do you heat the milk before making yogurt?
Heating the milk to 180 degrees F kills any bad bacteria that might be present in the milk. This way only the good bacteria is cultured during the yogurt making process.
Taking this extra step also gives you a creamier, less runny yogurt.
can you use raw milk to make instant pot yogurt?
Raw cow’s or even goat’s milk can be used to make instant pot yogurt. Store-bought milk has undergone a process called pasteurization that is essentially heating it to a temperature of 180 degrees to slow the growth of bacteria and extend it’s shelf life.
While pasteurization does make milk safer to drink, it’s been proven to make it harder to digest.
To maintain all the benefits of using raw milk, it isn’t necessary to heat the milk to 180 degrees like it is with pasteurized milk. Raw milk just needs to be heated to 110 degrees before adding the starter.
why did my instant pot yogurt fail?
There are a few different reasons why your yogurt might not have turned out:
- The milk was not heated high enough. Pasteurized milk needs to be heated to 180 degrees and raw milk to 110 degrees.
- The milk was cooled down too quickly. Even thought it might be tempting to cut down on the time it takes to make yogurt by cooling the heated milk down in the fridge, doing this will give you a runnier result.
- Not using enough starter.
- The yogurt you used as a starter, did not contain all of the active cultures needed to make yogurt. Make sure your starter contains: Lactobacillus bulgaricus, Streprococcus thermophilus, Bifidobacterium lactis or Lactobacillus acidophilus.
why is my instant pot yogurt so sour?
Yogurt that has been cultured too long on the yogurt setting will taste extra sour since the bacteria in the yogurt starter turns the milk sugars (or lactose) into lactic acid.
The longer you leave the milk at room temperature in the instant pot, the less lactose will be left in it, making your yogurt less sweet and more sour.
More instant pot recipes on the blog:
Pin these steps to try later. Tag @athomeontheprairie on Instagram to share what you’ve made with us!

Instant Pot Vanilla Yogurt
Making homemade Greek yogurt is as simple as two ingredients and 10 minutes of active prep work. This recipe for instant pot vanilla yogurt is thick, smooth and absolutely delicious
Ingredients
- 1 gallon of milk (whole milk is recommended)
- 1/2 cup Greek yogurt with live and active cultures
- 1/2 - 1 cup honey
- 1 tablespoon vanilla extract
Instructions
- Make sure your instant pot smells clean and free of any smells from the last thing you made in it. Mine can smell like onions sometimes, so I always double check to make sure I won't be making onion flavored yogurt! Pour milk into the inner pot of your instant pot and hook a thermometer onto the edge of the pot.
- Press the "Sauté" button and let the milk heat until it reaches 180 degrees. Heating the milk kills bacteria that will keep the milk from turning into yogurt.
- Remove the inner pot of the instant pot and let it sit on the counter until the milk has cooled down to room temperature or about 110 degrees. (this step can take a few hours)
- Set the inner pot back into the instant pot and pour in your yogurt starter. Lightly whisk the milk and starter together.
- Remove the rubber gasket from the instant pot lid (to keep any other flavors from affecting the yogurt) and set the lid onto the instant pot. No need to make sure it locks.
- Press the yogurt button on the instant pot. Using the arrow buttons, set the time to 9 hours.
- When the 9 hours are up, remove the inner lining of the instant pot.
- Set a large colander/strainer over a large bowl. Line the colander with coffee filters or cheesecloth. Pour all of the yogurt into the colander and let most of the excess liquid (whey) strain out so that your yogurt is nice and thick.
- This process can take awhile so it's best to set the colander and bowl in the fridge. Let the yogurt strain for 12-24 hours until the consistency isn't runny anymore and it's looking almost as thick as cream cheese.
- When the consistency is right. Put the yogurt in a bowl and stir in honey and vanilla extract.
Notes
To Serve - Enjoy homemade vanilla yogurt the same way you would use store-bought. In smoothies, baked goods, parfaits or just by itself.
To Store - Homemade yogurt can be stored in the fridge for up to 2 weeks.
Substitutions - Any pasteurized cows milk can be used to make instant pot yogurt. I recommend whole milk for the creamiest results.
Pure maple syrup can be used in place of honey.
Starter Options - After you make your first pot of yogurt, save 1/2 cup of yogurt to use as the starter for your next batch! Over time, the cultures in the yogurt will weaken, so you'll have to use store-bought starter when that happens.
Variations - Make different flavored yogurts by stirring in jam or fruit.
Do we bring the milk to 180 degrees Celsius of Ferinheight?
Fahrenheit
How do you know when the live culures are too weak to use from the yougurt? How many times can you reuse the starter?
I’ve been able to use my homemade yogurt as starter for at least 10 times before I’ve noticed the yogurt isn’t turning out as thick.
Hi! Do you know if it would be possibly to halve this recipe? I’m not sure if I could eat the whole batch, and I’d feel better starting with a smaller batch with less risk of waste.
Yes! Just halve all of the ingredients but keep the same times and temperatures.
For the 1/2 c. Yogurt can I use vanilla honey Greek yogurt. Or does it have to be plain?
You can use any flavor you want! Your yogurt will just have a very mild vanilla flavor when it’s ready.
Have you tried freezing the yogurt?
I haven’t but I’ve heard you can! I would think the texture would be affected though.
Why can’t I find how much honey and vanilla you’re supposed to put in?
Hi Penny! If you scroll down to the recipe card, you’ll find the ingredients amounts all listed there!
This was so good and not nearly as difficult as I thought it would be!!
How much of the whey do you use as a starter? Also, how long does the whey last in the fridge?
I’m so glad you enjoyed making your own yogurt for the first time! I use about 1/2 cup of whey as a starter. It lasts about a week in the fridge.
My instant pot has high medium and low settings for yogurt. Which do you recommend using?
How many probiotic capsules would I use if I use that instead of yogurt for a starter?
Hi Megan! I don’t actually know the answer to that, sorry!
I’m making my 5th batch of yogurt as I write this.
I used honey as a sweetener with my first batch and then switched to condensed milk. I prefer the taste.
I also invested in reusable cheesecloth squares from Amazon to save money.
Thank you for this recipe.
THat sounds great Debra! Thank you for coming back and letting me know!
I’ve been using this recipe for a couple of batches now. My family loves it. I divide the batch in half making honey and vanilla flavors. They’ve asked how we can make it creamier? Any suggestions? Many thanks
Yum! If you strain it longer it will be creamier. I usually strain mine for at least 24 hours.
I boiled my milk and when I went to grab my yogurt starter I realized I forgot to take some out my last batch. Can I reboil again after I get another yogurt starter? (same day)
Don’t worry about boiling it again, just add the new starter and put the instant pot on the yogurt setting. You should be fine!
Do you have to use honey? I’m not a big fan of a big taste of honey & I have type 2 diabetes.
No! You can use any other sweetener you like! I prefer maple syrup myself
If I don’t strain it right away at the 9 hours will it still be ok
Yes! It’ll be fine
Do we have to strain out the whey or is this strictly a texture thing?
No you can definitely leave it in for added nutients!