
How to Paint a KitchenAid Mixer

Are you wishing you had bought a different colored KitchenAid mixer? Were you given a mixer for your wedding that just wasn’t your style? You can actually paint your KitchenAid mixer any color you want! Just follow these instructions to get a durable and professional looking finish. An easy to follow DIY tutorial that takes you step by step through the process!
I’d always wanted a KitchenAid mixer, ever since I got married. But those mixers are not cheap, and my budget was pretty tight. I had hand held beaters anyway, and they were getting me by just fine. Until they broke, along with my blender, and right before Christmas! (why is it that appliances break in pairs?)
I’d been married 11 years and my budget wasn’t quite as tight so I figured it was time to bite the bullet and just buy a KitchenAid mixer. I was eyeing Joanna Gaines’ Hearth and Hand collaboration with KitchenAid. There were some really pretty muted colors that had the vintage feel I wanted, but they were all sold out indefinitely. So I turned to good old Facebook Marketplace to look for a used one. Maybe I’d get lucky and find a white one!
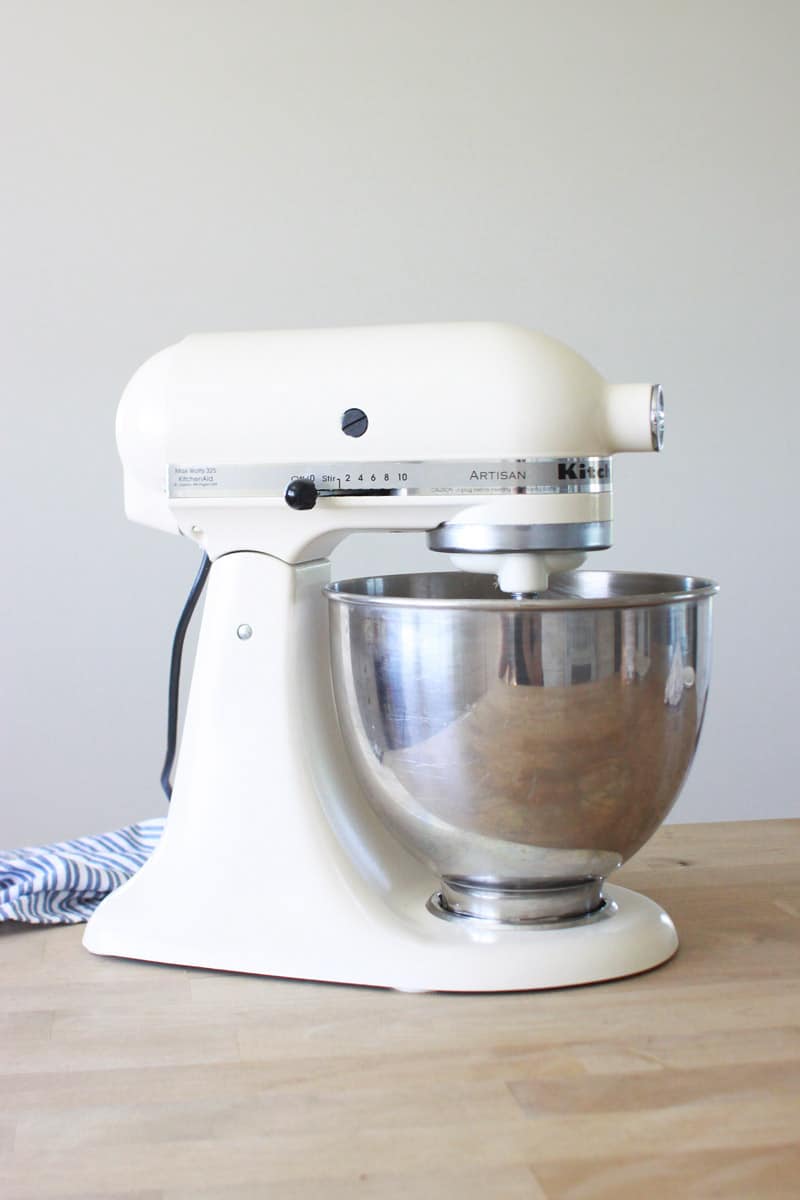
No such luck. I did find one for a REALY good price that was royal blue. Now royal blue isn’t bad in itself, but it definitely doesn’t match my house. I was desperate though so I went ahead and picked it up. And yeah, it did not match my kitchen. It stood out like a sore thumb. That’s when I decided to look into to paint my Kitchenaid mixer.
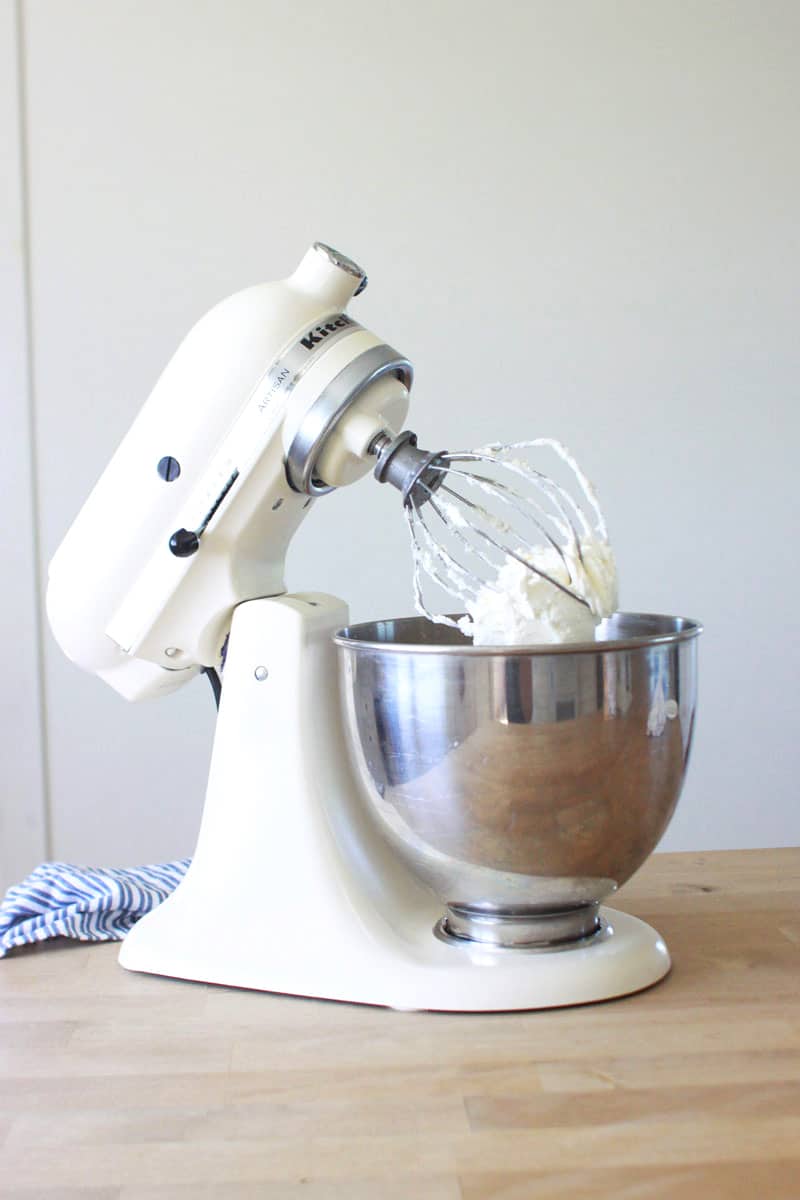
It is definitely a process, sort of tedious, and you can’t rush it. But I am so happy with the results! Now I have a custom look KitchenAid mixer that matches my kitchen perfectly! It has that beautiful vintage feel that makes me want to bake more than ever.
Can a Kitchenaid Stand Mixer be Painted?
Yes it can, with very nice results. But you have to follow each step in the process completely. Don’t rush or you’ll be unhappy with the quality of the finish. Taking the time to tape off the parts that you do not want paint to touch is crucial and time consuming but getting perfect paint lines is so worth it!
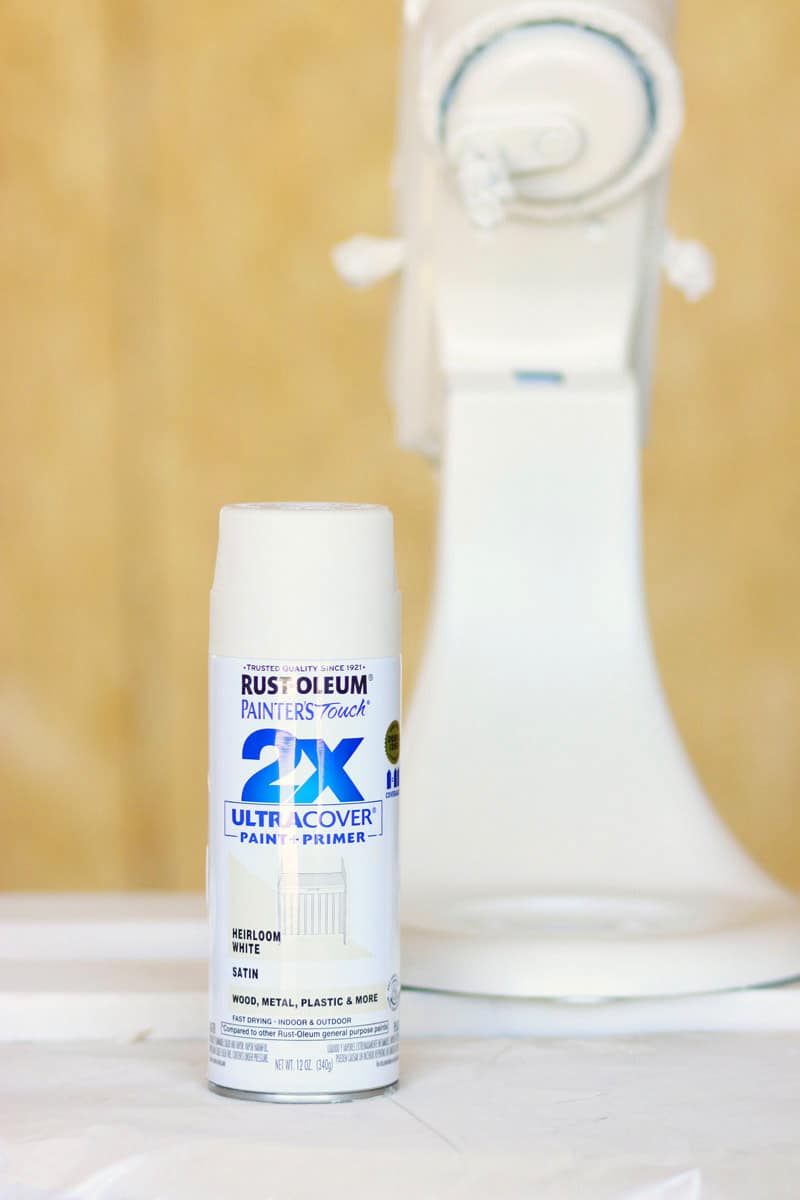
You also need to make sure you are using quality paint. Rust-Oleum spray paint is a great choice for this project.
Supplies You Need to Paint a Kitchenaid Mixer:
- screw driver
- rubbing alcohol
- rag
- good painters tape
- fine grit sanding sponge
- painter’s plastic
- spray paint
- clear enamel top coat
How to Paint a KitchenAid Mixer:
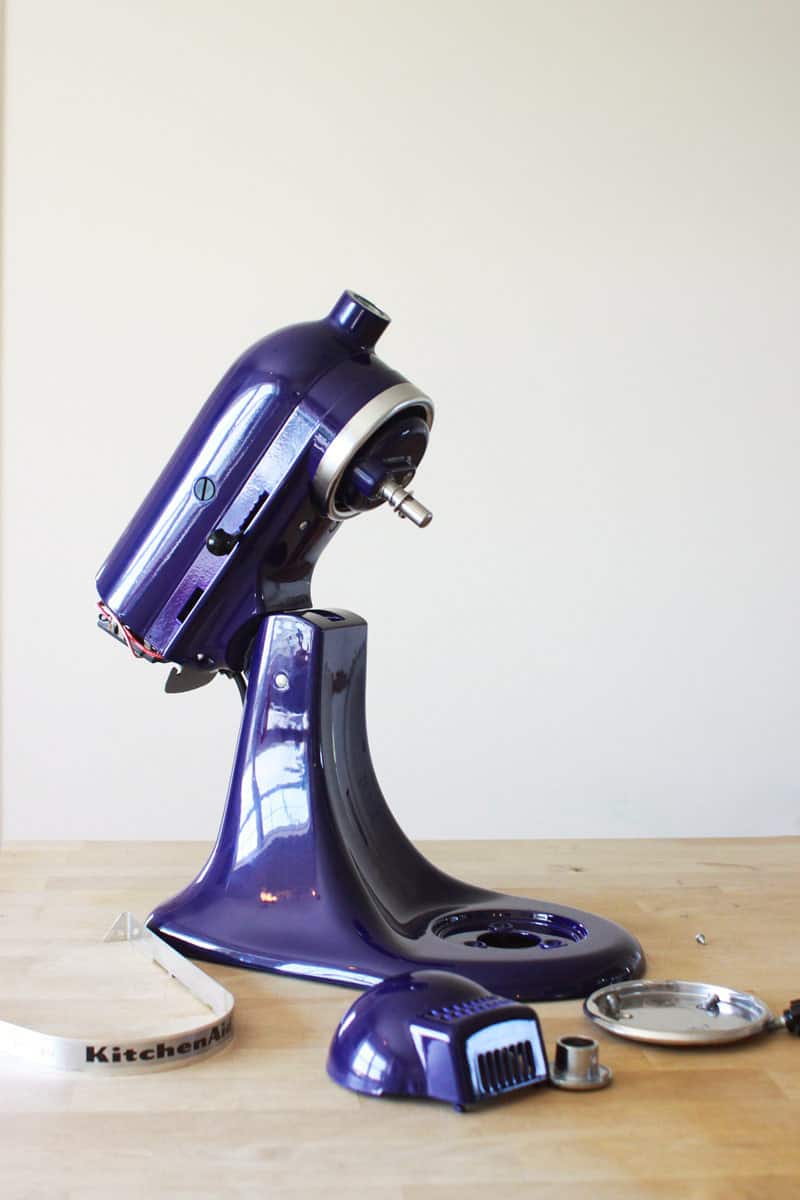
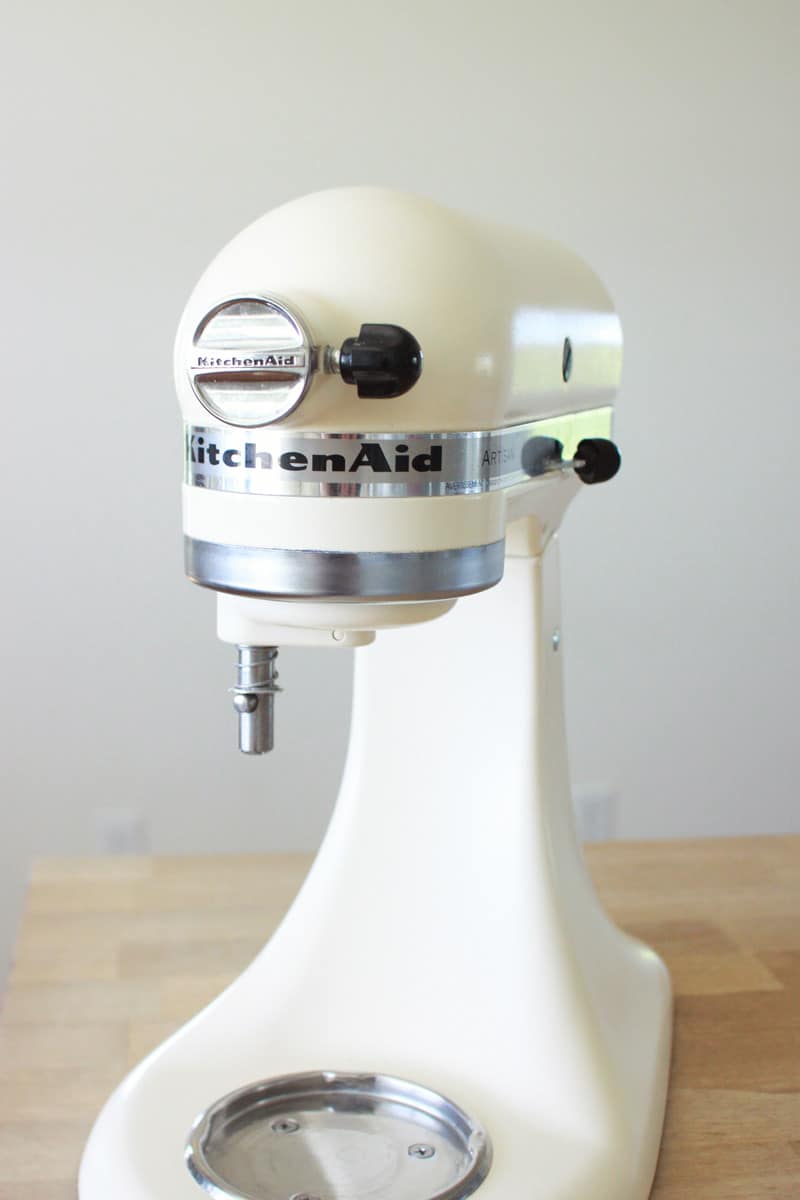
Step 1: Remove Any Removeable Parts
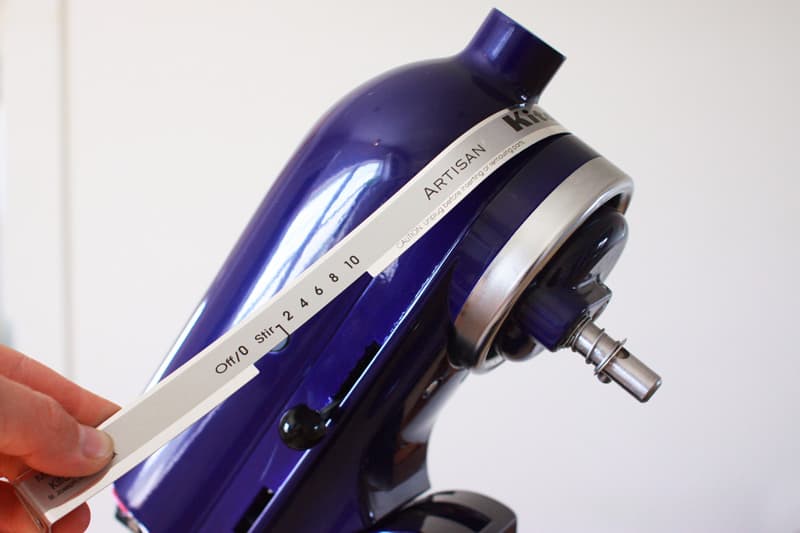
First you will want to take the mixer apart a bit before you paint it. Removing all of the parts that are easy to take off and put back on will give you more crisp paint lines. I unscrewed any screws I could find that I could see exactly what was being held on by them. The back that covers the motor, the metal part that the bowl locks into, and the strip that says “KitchenAid” on it. Store these in a baggie in a safe place. You definitely don’t want to lose them!
Step 2: Clean the Whole KitchenAid
Next you want to make sure your mixer is completely cleaned of any grime and grease before painting. I wiped the whole mixer down with a baby wipe. You could use a very lightly soapy paper towel too. This just gets the greasier spots off. Then wipe it all over with a rag and some rubbing alcohol.
Step 3: Sand the Mixer
This is the point where you can turn back if you aren’t sure. After this, there is no turning back! Take a sandpaper block and gently sand all of the painted parts of the mixer. I was really surprised how easily the factory finish comes off! The pint of sanding it is to get a more of a rough surface for your paint to adhere to. Wipe all of the powdered paint off and go over it again with rubbing alcohol. You’ll see in the photos, I forgot to sand it til I had already taped it off. I don’t recommend doing it that way.
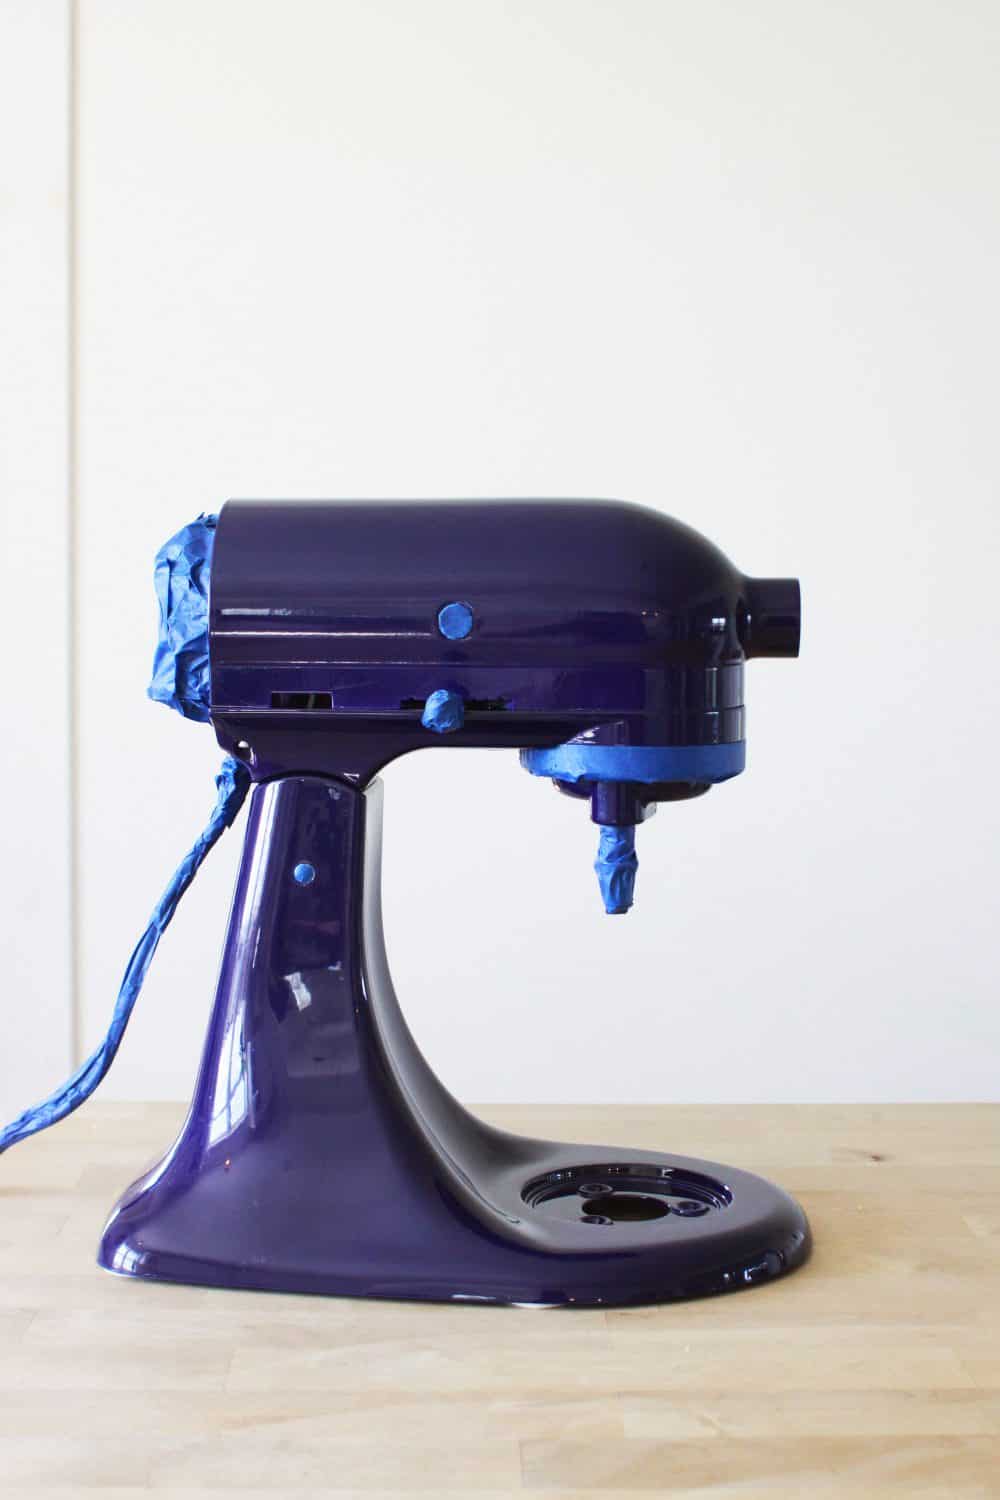
Step 4: Taping
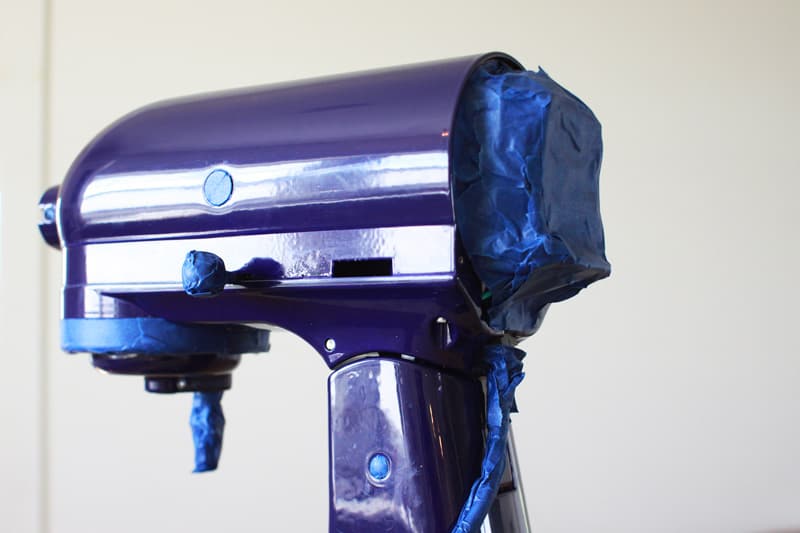
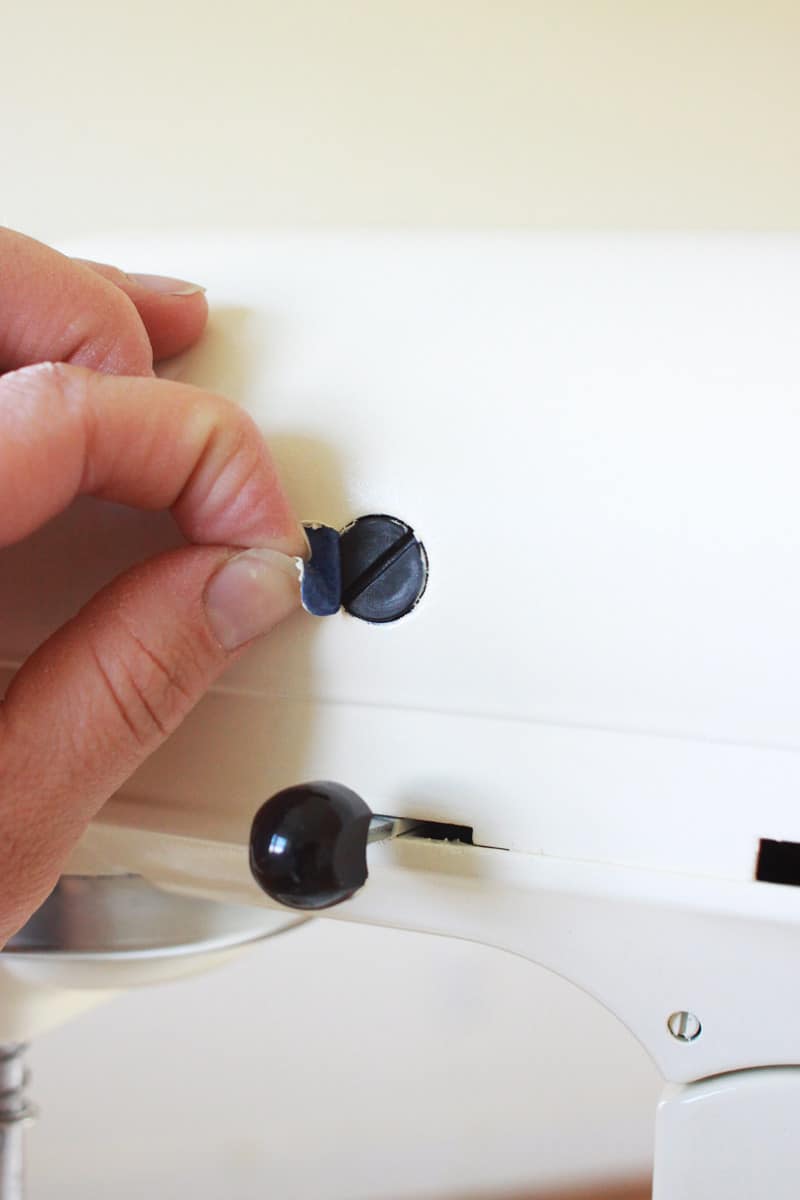
This part is much more time consuming and important than I had anticipated. It took me about an hour to completely tape off the whole mixer. You will want to carefully and precisely tape all of the silver metal parts, the motor area, and any remaining screws. Covering bolts was tricky. I put a piece of tape on each one. Using your finger nail, go around the bolt, pressing the tape along the edges. Then go over that with a butter knife so that you the tape comes cleanly off around the bolt.
Make sure you tape the cord from top to bottom as well. Spray paint really does get everywhere no matter how careful you are!
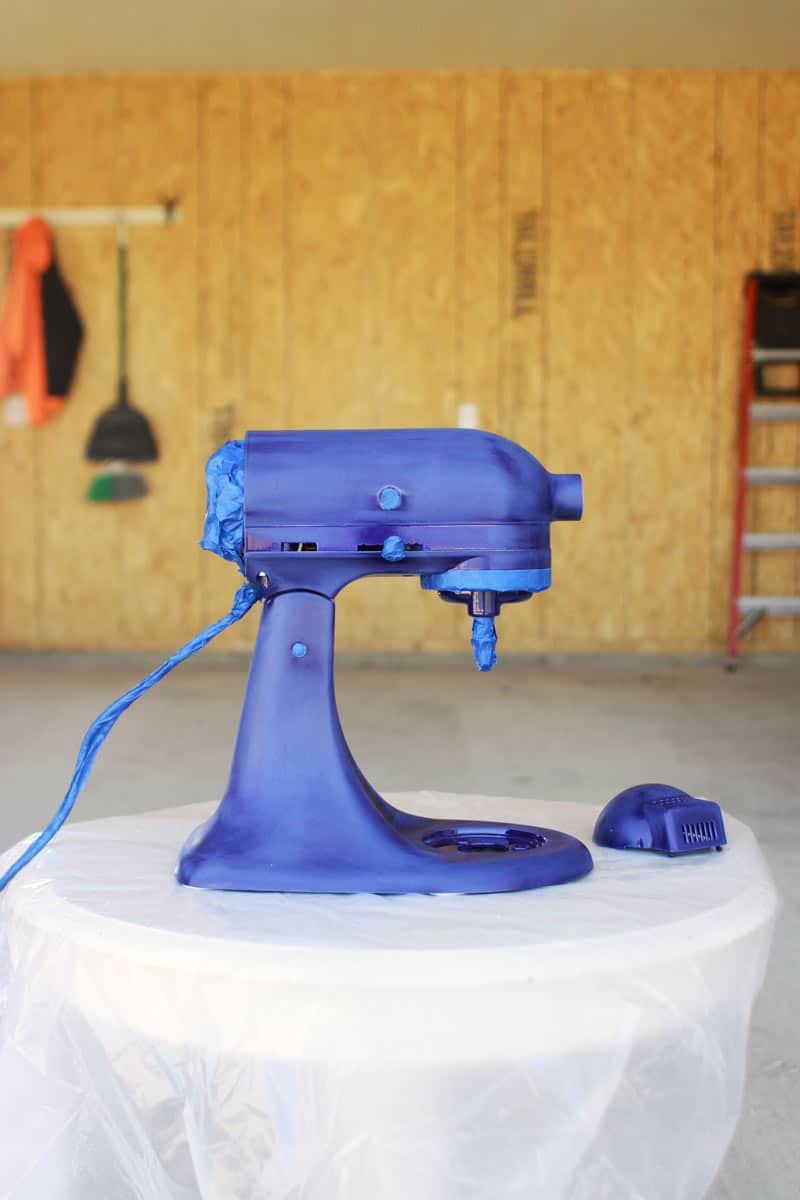
Step 5: Begin Painting
Ok, now for the fun part! The part we’ve all been waiting for: PAINTING! But first, prep the area you are going to paint in. I chose my garage because its well ventilated. But in hind sight, I should have used my unfinished basement or at least closed the garage door. I can’t tell you how many times I would get a coat of paint done, then find specks of dust in the fresh paint. Talk about frustrating! Ok, back to what I was saying. Choose your painting spot. Lay out painter’s plastic all over the area. Make sure the plastic is held down at the edges by scraps of wood or rocks or something that will keep it from getting in your way. Then put some more blocks of wood under the mixer so that you are able to paint the bottom edges easily.
Ok, now you’re ready to paint! Shake your spray paint REALLY well and then spray it onto the painter’s plastic for a few seconds to get any dust out of the paint before hand. I did not do this the first time I went to paint my kitchenaid mixer and ended up sanding off my whole first coat.
Spray the paint in light coats, making sure to move the paint can constantly. You don’t want to get drips from painting too heavily in one spot.
Step 6: Paint More Coats
I wish I could tell you one coat of paint would do the trick, but that’s just not true. After each coat, let it completely dry for at least 2 hours. Then lightly sand any rough spots or any specks of dust that might have gotten into the paint while it was wet. Keep painting coat after coat, sanding between until you are happy with the results and the original color is completely hidden.
Step 7: Clear Enamel Top Coat
Now, you get to decide how shiny you want your mixer to be! The Magnolia Mixer I mentioned at the beginning of this post was a matte finish, and I started this project thinking that’s what I wanted. I tried a satin enamel and just didn’t like how it looked. So I went over it a few times, with a clear gloss enamel until the can had run out and the shiny finish really makes it look like it was bought this color! Just like you did with the spray color, many light coats, and sand between if necessary. I actually wish I had bought one more can of enamel and made it even glossier. There is one spot where I was heavy handed with the enamel and I wish the whole KitchenAid was like that! Maybe I’ll go over it again later on.
Step 8: Reassemble the Kitchenaid Mixer
This is actually the most fun part. After your mixer has had a chance to dry completely. Preferably a week so you don’t scratch the finish while its curing. (I needed my mixer for my daughter’s First Communion cake so I used mine after only 1 day). Lastly remove the tape and replace the parts you took off. Stand back and admire your “new” KitchenAid mixer!
My Regrets:
The only regrets I have, are that I missed a few spots and there are a couple rough spots that I should have sanded better before spraying with enamel.
My mixer is an artisan KitchenAid. Meaning the top tilts back. This made painting it trickier, since I had to keep tilting the top between coats to get paint in the moving parts. I didn’t wait long enough between coats, so some of the paint is scraped off in the hinge are. Not a big deal since its down inside, but not as perfect as I was hoping for.
Also, I should have turned the machine on to get the part that holds the whisk attachment to move because I missed a spot that was facing the back side of the machine. Turning it on would have turned it so that I could get to it easier with the paint.
What I Love About My Painted KitchenAid Mixer:
Now my “custom” KitchenAid mixer is exactly the color I wanted for my kitchen! I didn’t have t live with the royal blue one forever and it now matches my cream cabinets. I got the look of the Hearth and Hand KitchenAid mixer for less about $20 in supplies.
So what are you waiting for? If you aren’t loving your KitchenAid mixer, time to take a trip to the hardware store and pick out the perfect paint color to go with your kitchen! If you do decide to go for it, take some before and after pictures and be sure to tag me on Instagram so I can share your “new” KitchenAid! I’d love to see what color you choose!

The larger screws are really easy to cover, just press around the edges with your nail and the excess tape around the screw should come right off, giving you really nice, clean lines. Cover any other knobs and screws that aren’t easily removable.
What a great post! I am sure there are a lot of people out there with red mixers having regrets!
I laughed so hard about the red mixer! I was gifted a bigger Kitchenaid… and, yes, it is red. *sigh*
But now I just might paint it! Thank you, Elizabeth, for the tutorial.
You definitely should try it Kristen! Its a process but so rewarding to have the exact color you want.
This looks like a great idea i have 2 kitchen aids my mom bought everyone one and my kitchen is orange and green so my small ones a orange which im very happy with. My mom had got herself the big one a dark blue lol. So when she got hers she really regretted it and ended up getting a butter cream for herself and because i do cakes she sent me her big blue mixer lol im not complaining it helps having 2 mixers when your doing 3 tier cakes but it doesnt match at all. So i think ill try this only question is the crank on the back lifts the top of the mixer should i lift it all the way before painting it? I think ill go with a mossy green to match my kitchen lol.
Mossy green sounds beautiful!! I tilted it up when I sprayed and then after it had dried, I sprayed another coat with it down again.
Paint the back part first and then tilt it back and paint the rest of the mixer. When it’s tilted back that back part doesn’t touch anything while it’s tilted so it won’t mess up the paint. Then let the whole thing dry in that tilted back position.
Yep! But I got it on sale at Kohls for $250(6qt professional one) so I took what they had. Now it’s going to stick out like a sore thumb in my new house. Thinking about painting it.
ME. I’m one of those people. Now I just have to work up the courage to try this.
Yes! I have the red mixer and want to change it to ice blue or aqua
Sounds awesome! I’m glad you’re going to give it a try!
Good article! We are linking to this particularly great article on our website.
Keep up the great writing.
I wish my mixer was red. But it’s about to be copper, so I guess I’ll live. Will share pics when done!!!
Oh yes!! I can’t wait to see the finished product!!
Were you able to reattach the metal banding without problems? I’m not sure if I should tape my off or remove it because I’m worried about the layers of paint making it harder to reattach?
Hi Nikki! It was really easy to put the band back on afterward. There shouldn’t be an issues.
Hi there. How many cans of spray paint does one need? Thank you
Hi! It took me between 2 and 3. I would get 3 to be safe and you can always return what you don’t use.
Now that it has been a couple of years, how is the paint holding up? Have you had any problems with scratching or chipping? How frequently do you use your mixer? I have my mom’s old 5 qt K5 KitchenAid that is literally almost 45 years old. It is white but is in need of a refresh. I’m going opposite what you did; from white to blue.
Hi Sharon!
I actually use my mixer on a daily basis and the only chipping I’ve encountered was from it being hit hard by something metal. Other than a couple spots of chipping, it looks AMAZING! I would o it again in a heartbeat.
Thank you for all the tips! I’ve had a white one for nearly 13 years and it’s needing new life! So thank you! Aiming for that Magnolia dark green!
Let me know how it goes! You might tempt me to paint mine Magnolia dark green after all!
Anyone know if painting it voids the warranty?
I would think it would void the warranty.
Anyone on here have the mini in Avocado Cream? Looking for it! I’ve had my red Betty for 30 years and runs perfect❤️
I’m a bit intimidated about putting it all back together and it working. Mine is white and I would love it to be mint green or aqua. Yikes! Is it easy to reassemble?
It’s really easy to reassemble, but if you’re nervous about it, take photos of the process when you take it apart so you can remember how you took it apart.