
How To Make DIY Natural Beeswax Furniture Polish


This DIY beeswax furniture polish recipe is easy to make and can be used on wood furniture and most wood surfaces!
This natural wood polish is made with just beeswax pellets, mineral oil and essential oils so it’s even safe to use on your cutting boards and wooden spoons!
This post contains affiliate links, which means I make a small commission at no extra cost to you. Get my full disclosure here.
What You Need To Make Beeswax furniture polish
ingredients
- Beeswax Pellets– Beeswax is the best type of wax to polish your furniture with because it leaves a soft shine and a warm glow without looking fake or leaving a sticky residue. Beeswax is also completely natural, making it safe to use on cutting boards and wooden spoons!
- Oil – The oil in this furniture polish recipe will moisturize as well as make your furniture more water resistant. Olive oil is perfectly fine to use in this recipe if you just plan to use it on furniture. Oils made from foods will eventually go rancid so they cannot be used on surfaces that will be used for food prep. If you plan to use this polish on wooden utensils and cutting boards, use food grade mineral oil or food grade fractionated coconut oil instead of olive oil.
- Essential Oils – Essential oils aren’t necessary, but do add a cleaning/purifying element to this furniture polish. Orange, grapefruit, citronella and lemon essential oils are all good options! This is my favorite brand of essential oils to use in cleaning products.
supplies
- Double Boiler – Or you can just add an inch or two of water to a saucepan and a glass bowl on top of the saucepan. Heat the water over medium heat and add your ingredients to the glass bowl to melt.
- Glass Jar or Other Airtight Container – A shallow container is best for storing wood polish. That way you can easily dip a rag in to apply it.
How To Make Beeswax furniture polish:
Combine – Add all of the ingredients to a double boiler. You could also use a bowl set on top of a saucepan with a couple inches of water in it.

Melt – Melt the mixture over medium heat, stirring constantly, until it is completely melted there are no clumps left.
Remove From Heat – Remove the pan from the heat and let it cool a couple of minutes. Add the essential oils to the mixture, stirring.

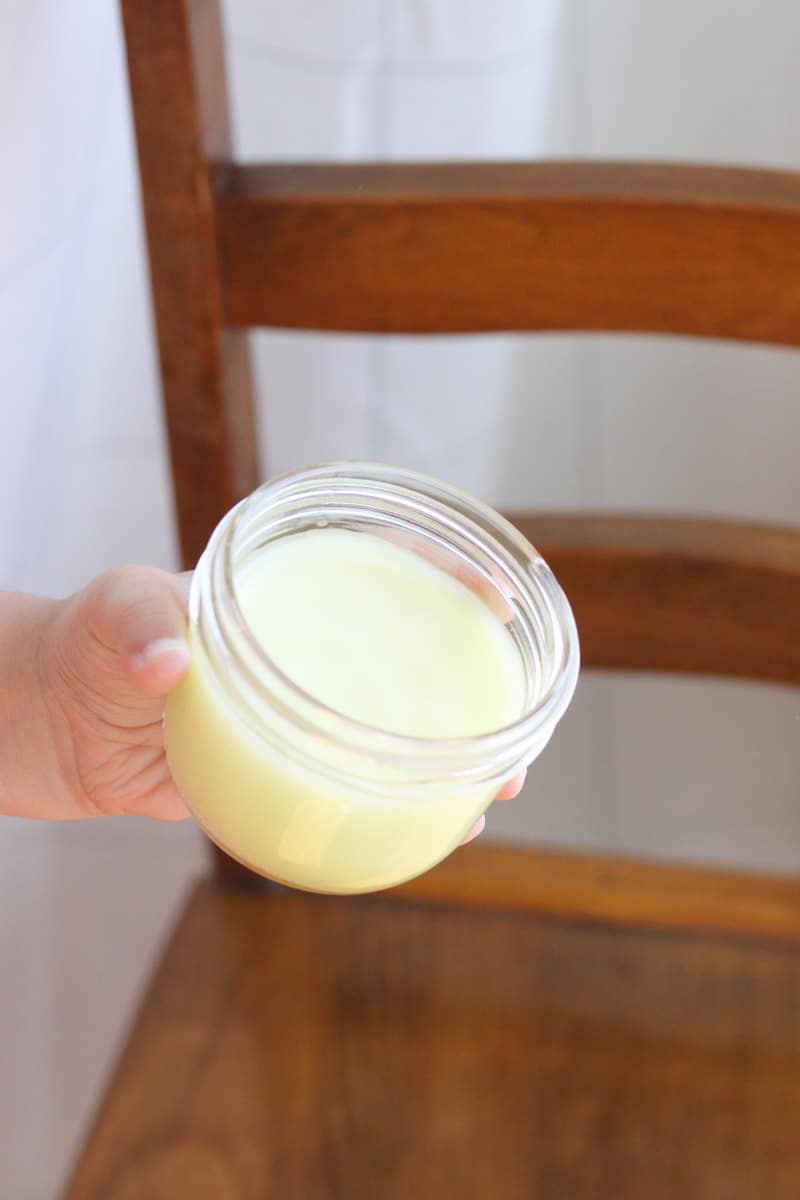
Pour – Carefully pour the melted furniture polish into a container. Let the mixture cool completely before sealing the container.
Have you tried making homemade leather conditioner yet?
Tips for success:
To Use – Make sure to clean wood surfaces before applying beeswax polish to them. Wipe away any loose dirt or dust, clean and allow it to dry completely.
Using a soft, clean cloth or paper towel, apply a small amount of furniture polish to your wood surface. Rub in a circular motion until the polish has been absorbed into the wood grain and it no longer looks dry. Wipe away any excess polish. Buff with a clean, dry cloth to bring out the shine!
Polish again every few months or as needed.
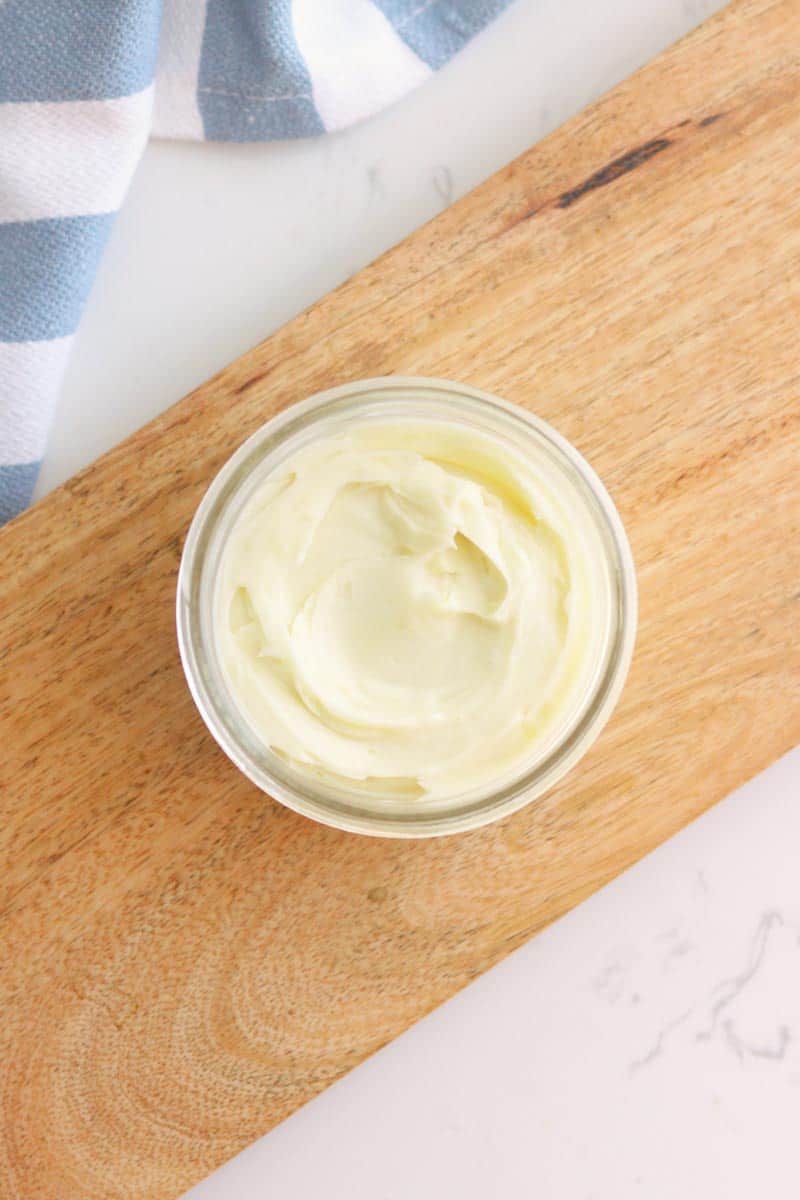
To Store – Store this beeswax furniture polish in a dry place at room temperature for more than a year.
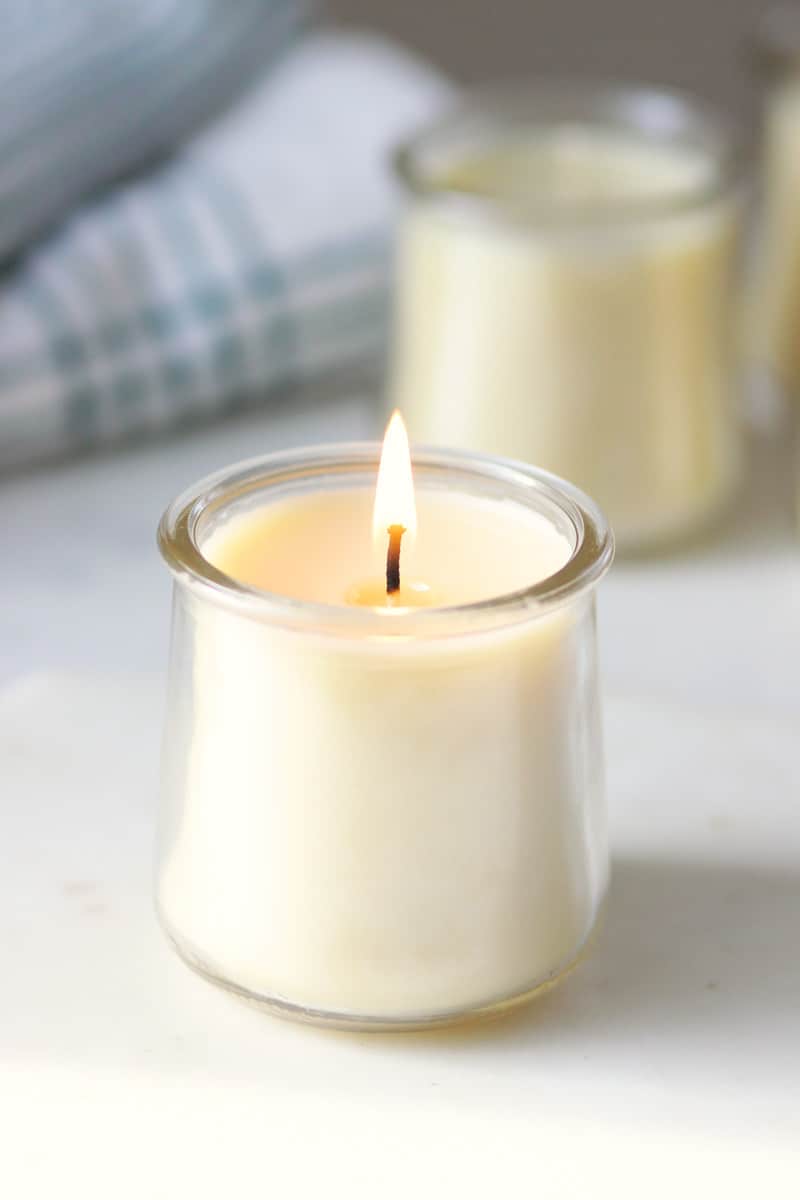
Variations – This recipe can be made into a solid bar if you prefer. Just pour the melted beeswax mixture into a bar soap mold. Let it cool and store in a plastic baggie.
Substitutions – For the oil in this recipe, you can use olive oil, but the shelf life will be somewhat shorter since olive oil can eventually go rancid.
For a furniture polish that will last indefinitely, use mineral oil or fractionated coconut oil. These oils are also safer to use on cutting boards or wooden utensils.

about This Beeswax furniture polish Recipe
all natural Ingredients
You can make your own natural beeswax polish with only 2 ingredients! This basic recipe is just a combination of beeswax and a food grade oil.
Essential oils are an optional way to add a fresh scent and some chemical free cleaning power to the polish.
These simple ingredients are completely safe to use on wood food prep surfaces like cutting boards, butcher block countertops and wooden utensils.
easy to make
It takes 15 minutes or less to whip up a small batch of natural beeswax polish that will last you a really long time.
budget friendly
Store-bought furniture polishes are not cheap. And ones that are made with real beeswax, can get pretty pricey!
Buying all of the ingredients to make this recipe might not seem inexpensive at first, but you’ll have plenty of each product left over afterward to use in other recipes like homemade lip balms, beeswax body butter, beeswax candles, leather conditioner and even baby lotion.
it works really well!
The oil in this recipe works to moisturize and condition wooden furniture. The beeswax adds a soft shine and protects the surface of the wood from moisture in future.
Adding lemon oil or another citrus essential oil gives this homemade furniture polish cleaning power and makes the whole room smell fresh and clean!
Wood polish isn’t just for furniture either. Since this recipe is made with only natural products that are also food safe, you can use it on wooden spoons, cutting boards, butcherblock countertops and even wooden toys that might make it into your toddler’s mouth!
easy to use
To use DIY beeswax wood polish, apply a small amount at a time with a clean cloth. Rub in small circular motions, wiping away any excess until the entire surface has been polished. Let it dry and buff the wood by rubbing it all over with a clean dry cloth.
Always dust and clean your wood furniture before polishing it.

FAQ About beeswax furniture polish
Is beeswax a good furniture polish?
Beeswax is known for it’s natural protective qualities when it’s used in creams and balms. Rubbing a thin layer of beeswax mixed with oil on wood furniture keeps it in good condition and protects it from moisture, stains and spills.
Beeswax leaves the wood with a warm glow and slight shine without feeling greasy or sticky.
how long does beeswax last on wood furniture?
A beeswax finish can last for several years, but because it’s a wax and not a varnish, it can get dented and rubbed off by wear and tear from the furniture being used.
It’s best to just apply more as your furniture starts to look like it needs polishing again.
what can you mix with beeswax to make a wood polish?
The main ingredients in any homemade beeswax wood polish are oil and wax. There are so many natural oils you could choose from to use in a wood polish.
But keep in mind that food based oils like jojoba oil, almond oil, olive oil, coconut oil and vegetable oil can eventually go rancid. They are fine to use if you plan to use the wood polish up within a year.
But if you are wanting this polish to have a very long shelf life, choose a food safe oil like mineral oil or fractionated coconut oil instead. These oils are also the best option if you plan to polish food prep surfaces like cutting boards and wooden utensils with it.

how to use beeswax as a furniture polish
- Make sure to clean wood surfaces before applying beeswax polish to them. Wipe away any loose dirt or dust, clean and allow it to dry completely.
- Using a soft, clean cloth or paper towel, apply a small amount of furniture polish to your wood surface. Rub in a circular motion until the polish has been absorbed into the wood grain and it no longer looks dry. Wipe away any excess polish. Buff with a clean, dry cloth to bring out the shine!
- Polish again every few months or as needed.

how to make food safe beeswax polish
Because a wood polish that is used on food prep surfaces will be touching food for up to several years, it’s important to make sure the polish won’t go rancid or bad during that time.
Beeswax itself has a life long shelf life, and the oil you use in wood polish needs to be one that won’t go bad either.
Oils made from foods like vegetable and olive oil will eventually become rancid and smell bad, so they should be avoided in a food safe beeswax polish. Mineral oil and fractionated coconut oil are the best choices because they have an indefinite shelf life and will stay smelling fresh for years to come.

More homemade beeswax recipes on the blog:
If you liked this recipe, I think you’ll really enjoy these other homemade beeswax products on the blog!
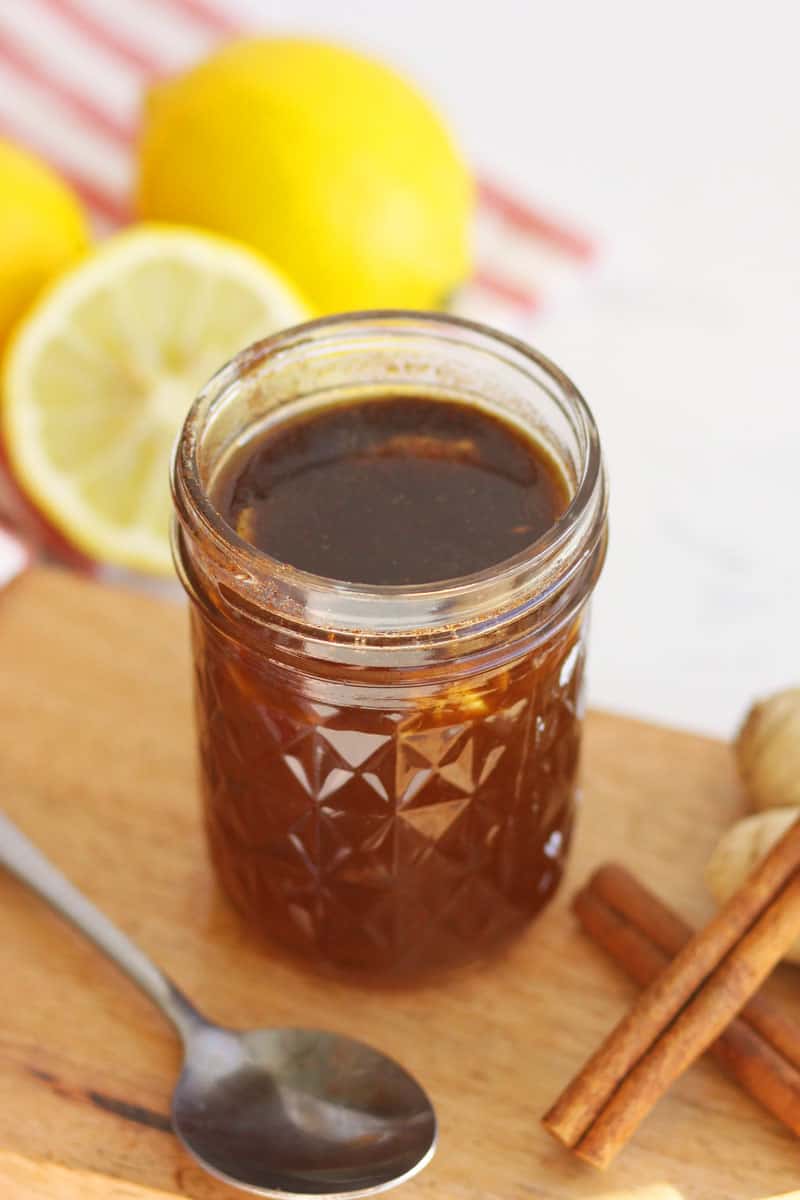
- Beeswax Leather Conditioner
- Beeswax Lip Balm
- Beeswax and Essential Oil Candles
- Homemade Baby Lotion
- Homemade Body Butter With Beeswax
I hope you love this recipe for beeswax furniture polish! If you make it, I’d love for you to come back and leave a comment and rating so that I know how you like using it!
Pin these steps to try later. Tag @athomeontheprairie on Instagram to share what you’ve made with us!

Beeswax Furniture Polish
This DIY beeswax furniture polish recipe is easy to make and can be used on wood furniture and most wood surfaces! This natural wood polish is made with just beeswax pellets, olive oil and essential oils so it's even safe to use on your cutting boards and wooden spoons!
Ingredients
- 2 Tablespoons beeswax pellets
- 1/2 cup olive oil or mineral oil (see notes for options)
Instructions
- Add all of the ingredients to a double boiler. You could also use a bowl set on top of a saucepan with a couple inches of water in it.
- Melt the mixture over medium heat, stirring constantly, until it is completely melted there are no clumps left.
- Remove the pan from the heat and add the essential oils to the mixture, stirring.
- Carefully pour the melted furniture polish into a container. Let the mixture cool completely before sealing the container.
Notes
To Use - Make sure to clean wood surfaces before applying beeswax polish to them. Wipe away any loose dirt or dust, clean and allow it to dry completely.
Using a soft, clean cloth or paper towel, apply a small amount of furniture polish to your wood surface. Rub in a circular motion until the polish has been absorbed into the wood grain and it no longer looks dry. Wipe away any excess polish. Buff with a clean, dry cloth to bring out the shine!
Polish again every few months or as needed.
To Store – Store this beeswax furniture polish in a dry place at room temperature for more than a year.
Variations – This recipe can be made into a solid bar if you prefer. Just pour the melted beeswax mixture into a bar soap mold. Let it cool and store in a plastic baggie.
Substitutions – For the oil in this recipe, you can use olive oil, but the shelf life will be somewhat shorter since olive oil can eventually go rancid.
For a furniture polish that will last indefinitely, use mineral oil or refractionated coconut oil. These oils are also safer to use on cutting boards or wooden utensils.

Thank you Elizabeth
I’m going to make the beeswax furniture polish, do I add the beeswax pellets and the mineral oil 50/50 when I melt it?