
How To Make an Easy DIY Wood Bead Garland

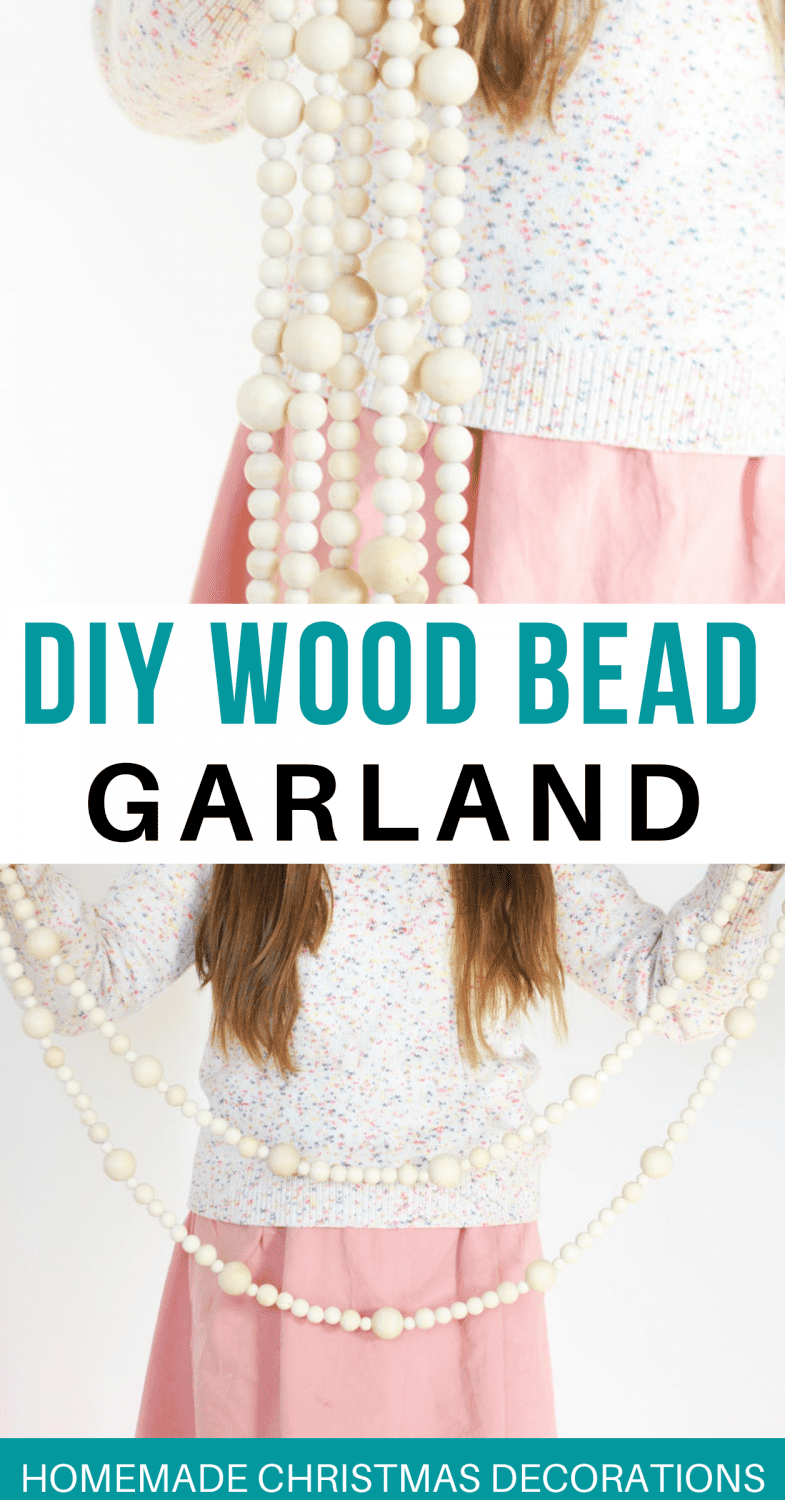
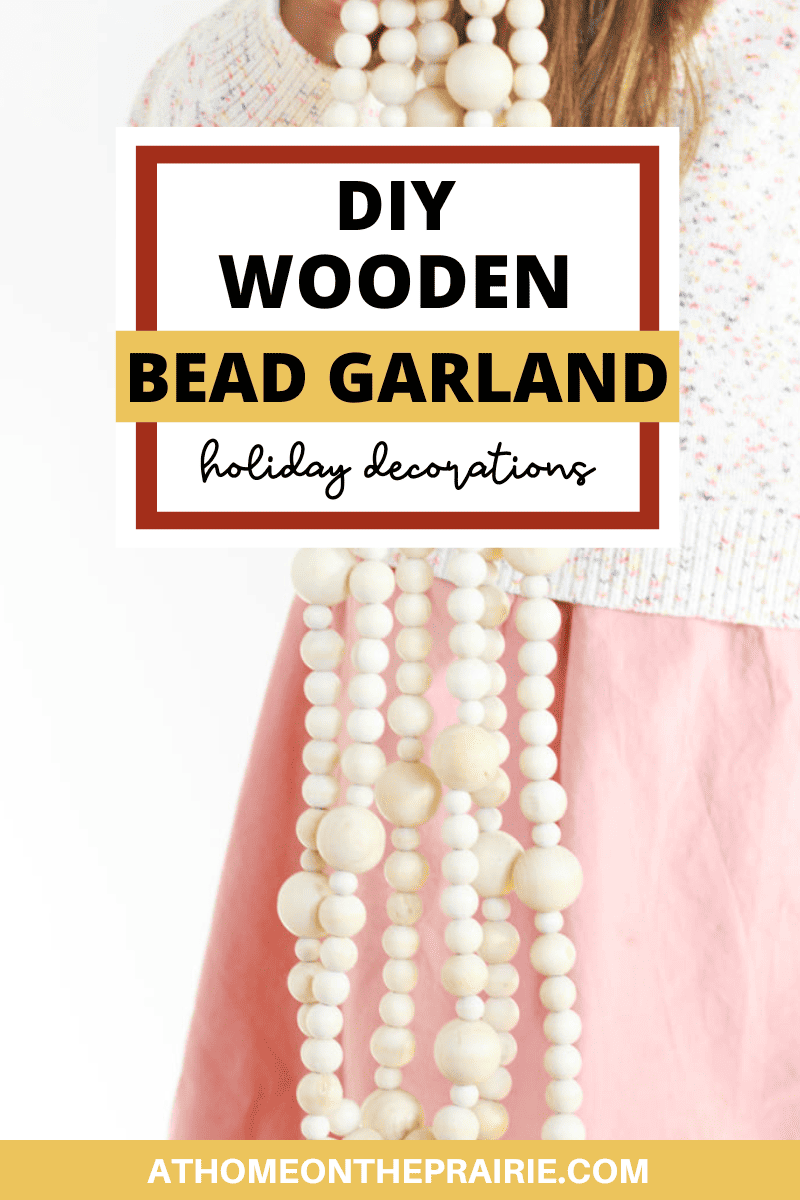
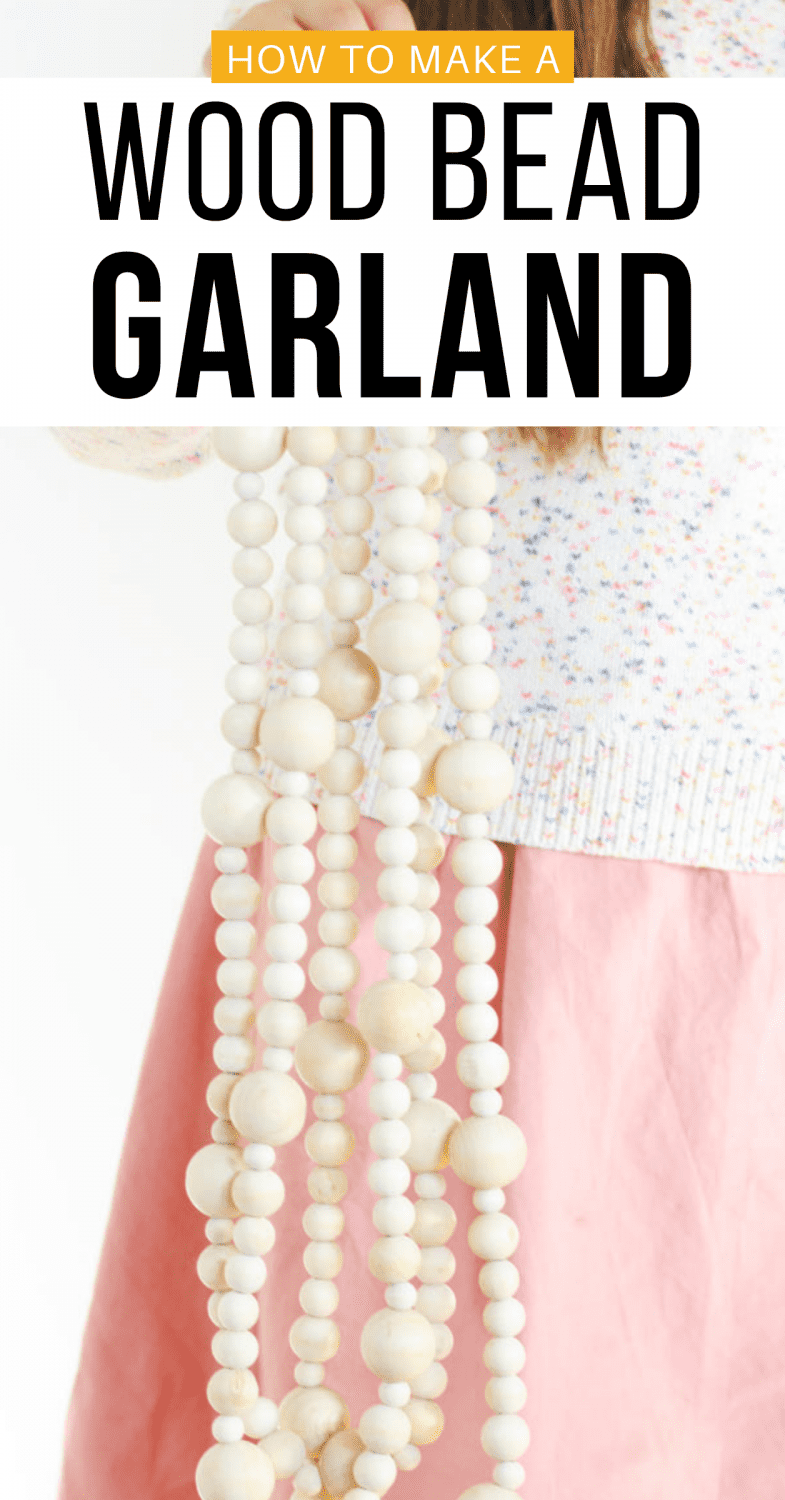
Follow these step by step instructions to make a wood bead garland the easy way! DIY wooden bead garlands add a classic farmhouse look hung with greenery or draped on the Christmas tree.

I love crafting with my daughters. Its a great way to teach them creative skills and it’s fun to watch them try new things!
Making our own holiday décor is such a fun way to prepare for the Christmas as a family. I know these are memories my girls will cherish and ideas they might pass on to their own kids some day!
Last year we spent Advent making one decoration a week. The kids loved it and it gave extra meaning to the decorations we put up. We made dried orange slices and strung them, paper bag stars, pom pom garlands and this wood bead garland.
We loved the simple festive look of this garland so much, I left it up for half the year! Haha! Its not specifically a Christmas decoration, so it can be used for other seasons too.
I’m no décor specialist or designer, but I think wood bead garlands work well with that modern boho and farmhouse décor that are so popular now.
I find I tend toward minimal holiday decorations, and that’s why I love the simple look of these natural wood beads so much!
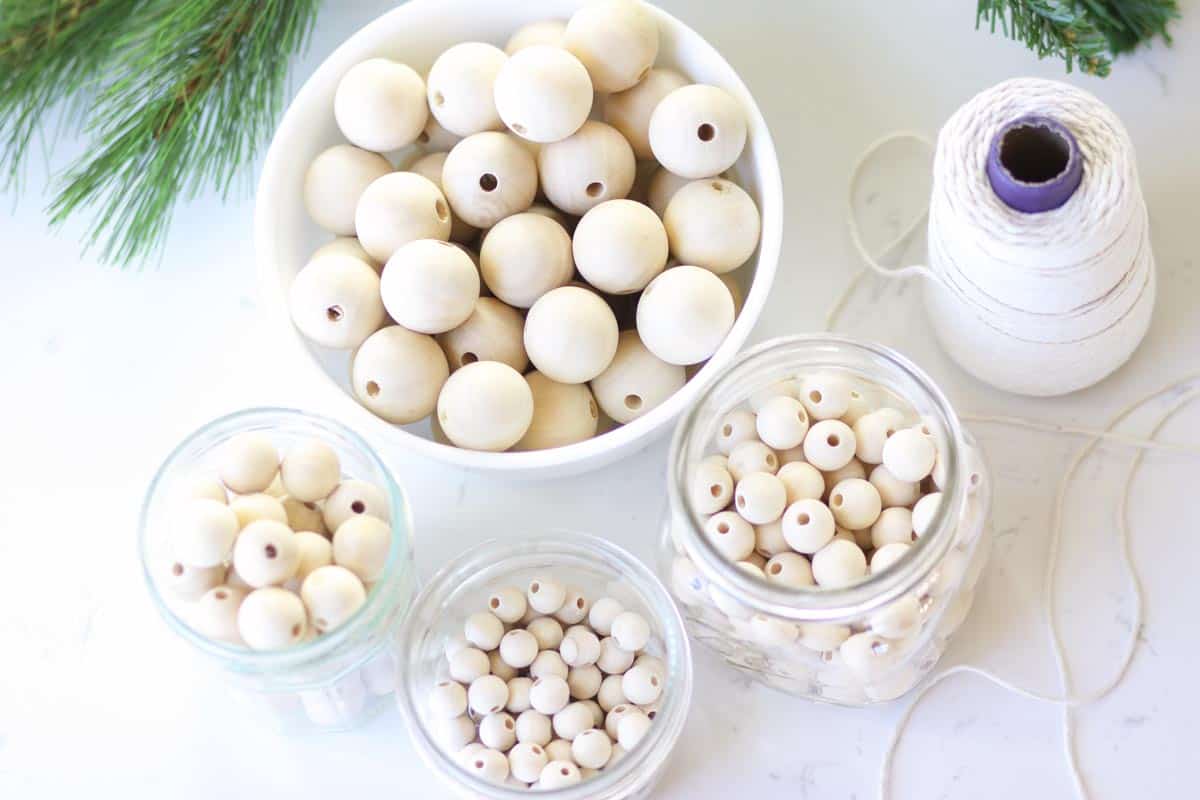
what you need to make a DIY wood bead garland:
Unfinished Wood Beads – Any size round wooden beads will work. Using different sizes mixed together makes it more interesting, but you could just use one size for an easier garland.
The number of beads you need will depend on how long you want your garland to end up being. More on that later in this post.
String – Twine or thick string makes a nice sturdy garland.
Large Needle – A darning needle is the perfect thing for stringing the wooden beads quickly and easily.
How to make your own DIY wood bead garland:
Plan Out Your Pattern – Play around with your beads, alternating sizes until you are happy with the pattern.
I decided to go with this pattern: 16 mm, 16 mm, 20 mm, 12 mm, 30 mm, 12 mm, 20 mm, 16 mm, 16 mm and repeat.
Prepare Your Supplies – Divide your different sizes of beads into bowls and arrange the bowls in the order you want to string your beads. This makes it easier to remember what size bead comes next as you string them.
Having them in bowls keeps them from rolling around and getting all over the place while you work.
Cut the string to the length you want your garland to be, plus an additional 12 inches for tying the ends of your garland and making loops for hanging.
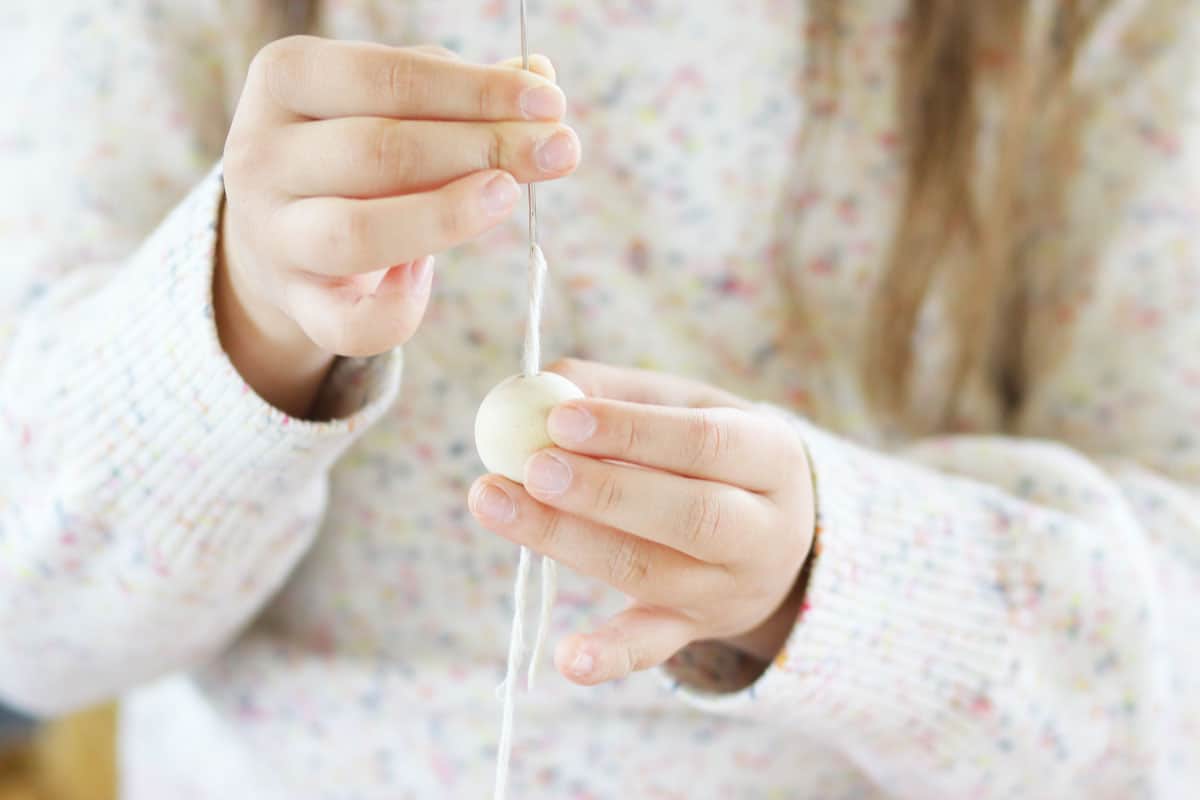
String The Beads – Thread your string on a needle. Working one bead at a time, string the beads until your strand is as long as you are wanting it.

Finish The Ends – Once you’ve strung your last bead, tie the ends and knot them forming a three inch loop at the end of your twine or string.

Tips for success:
Extra String – Leave a little slack in the string before finishing the ends so that your garland isn’t too tightly strung. This makes it more flexible for hanging and looping.
Variations – Tassels make a pretty addition to the ends of shorter bead strands. Here is a tutorial for making tassels, or you can buy them here.
To make the wooden bead garland extra fun and festive for Christmas, paint some of the beads red, white or green using acrylic paints.
How to Attach To Greenery – To hook the garlands to an evergreen garland or Christmas tree, use bits of crafting wire or ornament hooks twisted around both the garland and the branches.
FAQ about Making a DIY wood bead garland:
What Size Wooden Beads Are Used For Garland?
20 mm beads seem to be the most commonly used size for making garlands. But a mixture of various sizes makes garland more interesting and pretty.
Depending on how you plan to decorate with it, you might want to go with larger or smaller beads to get the look you are going for.
I used a combination of 30 mm, 20 mm and 16 mm and 12 mm beads for my DIY wood bead garland.
What kind of String Do You Use For Wood Bead Garland?
Twine or a thicker string work well for making a DIY wood bead garland. You could even use yarn. Neutral colors like white or tan look best since they don’t stand out against the beads themselves.
How Many Wood Beads Do You Need For a DIY Garland?
Depending on how long you want your garland and the size beads you use, you could use anywhere from 50 to 800 beads.
If you are using a variety of sized beads, I’d suggest starting with a total of 500 so that you have enough of each type to create your pattern without running out. Using more small beads, you’ll need more, and using large beads you can get away with less.
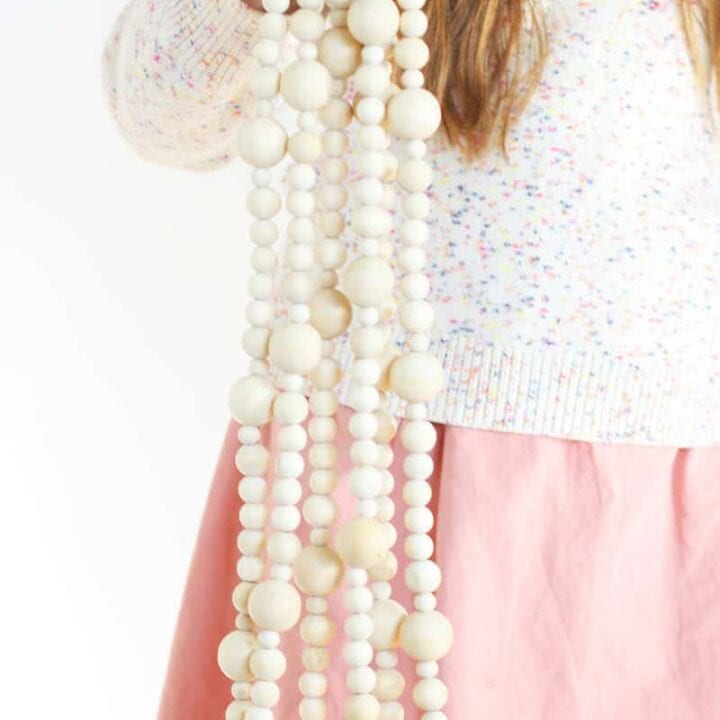
For my garland that I made to drape down my staircase banister, I wanted a 12 foot garland.
For my 12 foot garland I used:
- 24 – 30mm beads
- 48 – 20mm beads
- 98 – 16mm beads
- 48 – 12mm beads
You can find wood beads at most craft stores like Michaels, JoAnn Fabrics and Hobby Lobby. I got all of mine on Amazon and was very happy with the consistent color of the wood and the overall quality.
If you are in a pinch and need a premade garland right away, these wood bead garlands are really nice and affordable.
different Ways To Decorate With a Wood Bead Garland:
The way you use your wooden bead garland in your home décor will depend on the length and size of beads you use. That’s the great part about this project! You can really make it however you like!
Shorter garland made with larger beads looks pretty draped in a tray on your coffee table, or tied around a potted plant.
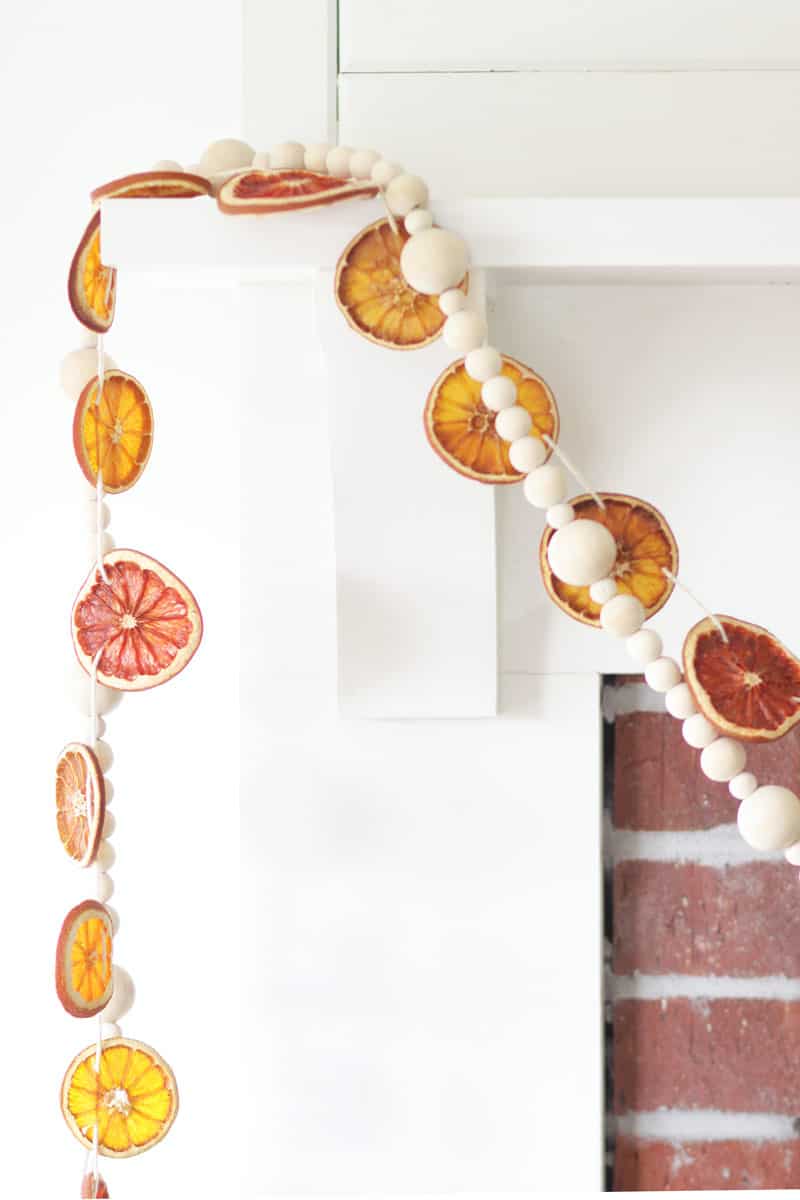
Longer garland looks beautiful used to decorate your Christmas tree, looped around a staircase banister, hung from your fireplace mantel or intertwined with evergreen garland around a cased doorway.
I hung mine with a strand of dried oranges and grapefruit. I love how simple they look together!
More Homemade Holiday Ideas:
If you liked making your own wood bead garland, I think you’ll really enjoy these other holiday ideas on the blog!
- Homemade Gingerbread Body Lotion
- Homemade Cocoa Mix Without Powdered Milk
- Old Fashioned Hot Apple Cider Recipe
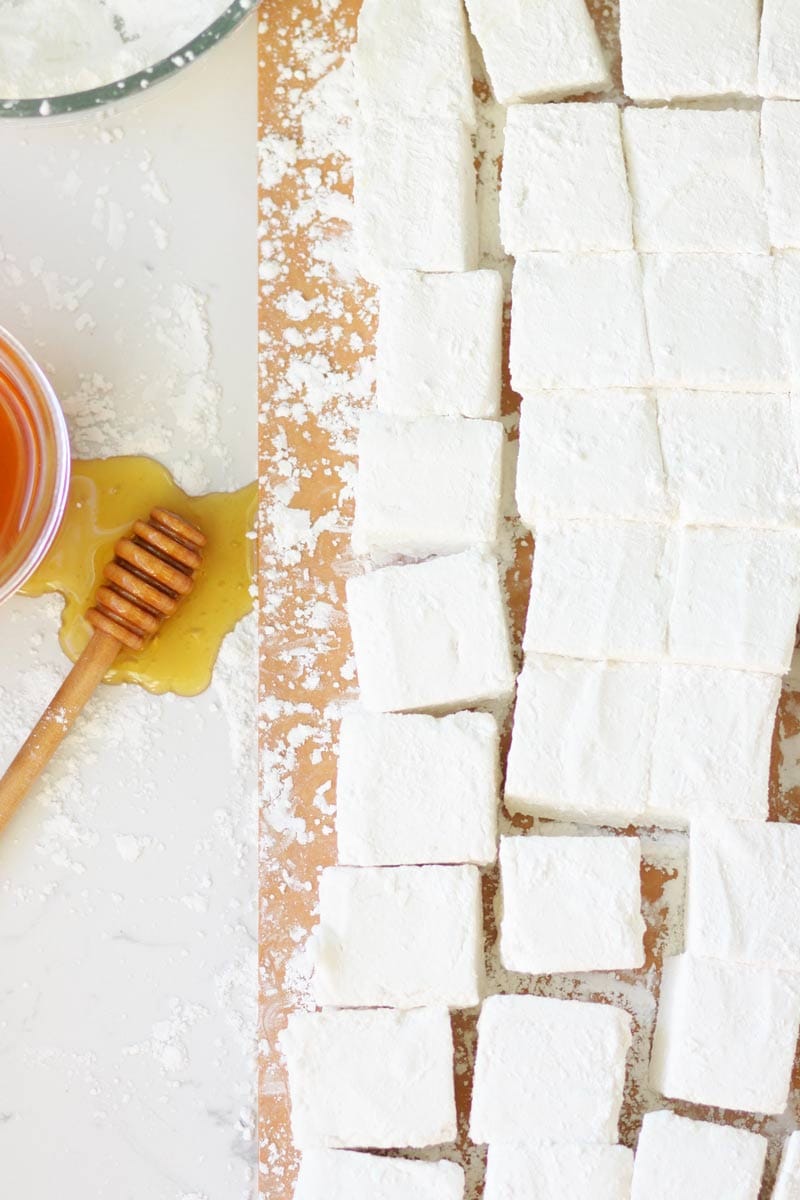
- Homemade Healthy Marshmallows
- How To Dry Orange Slices For Decorations
I hope you like this tutorial! If you make your own garland, I’d love for you to come back and leave a comment and rating!
Pin these steps to try later. Tag @athomeontheprairie on Instagram to share what you’ve made with us!
How To Make a Wood Bead Garland
Wood bead garland is such an easy and simple DIY project for Christmas! Wooden bead garlands add such a classic look to your Christmas tree, or draped down the staircase. Dress up your fresh greenery by intertwining it with a strand.
Materials
- wooden beads
- string or twine
- a needle
Instructions
- Plan Out Your Pattern - Play around with your beads, alternating sizes until you are happy with the pattern. I decided to go with this pattern: 16 mm, 16 mm, 20 mm, 12 mm, 30 mm, 12 mm, 20 mm, 16 mm, 16 mm and repeat.
- Prepare Your Supplies - Divide your different sizes of beads into bowls and arrange the bowls in the order you want to string your beads. This makes it easier to remember what size bead comes next as you string them. Having them in bowls keeps them from rolling around and getting all over the place while you work. Cut the string to the length you want your garland to be, plus an additional 12 inches for tying the ends and making loops for hanging.
- String The Beads - Thread your string on a needle. Working one bead at a time, string the beads until your strand is as long as you are wanting it.
- Finish The Ends - Once you have your string completely strung with beads, tie the ends and knot them forming a three inch loop for hanging.
Notes
Variations - Tassels make a pretty addition to the ends of shorter bead strands. Here is a tutorial for making tassels, or you can buy them here.
To make the wooden bead garland extra fun and festive for Christmas, paint some of the beads red, white or green using acrylic paints.
Extra String - leave a little slack in the string before finishing the ends so that your garland isn't too tightly strung. This makes it more flexible for hanging and looping.
How to Attach To Greenery - To hook the garlands to an evergreen garland or Christmas tree, use bits of crafting wire or ornament hooks twisted around both the garland and the branches.
This post contains affiliate links, which means I make a small commission at no extra cost to you. Get my full disclosure here.


This looks so cool to make! It looks like something you’d buy at Pottery Barn!
I love how simple, yet beautiful this wood bead garland is! My girls would love to make this. Thank you for sharing!
I love this!! I just ordered wooden beads over the weekend for some projects, I wish I would have waited and I could have used your links!! I love the pattern. The garlands turned out beautiful!
I love this! So cute & simple! And all the more fun to do with the kids! Adding to my list!
These have been so popular the last little while, and I like how simple and elegant they look. It seems like it would be a great relaxing idea to string the beads while watching a movie. I’m going to save this – thanks for all the helpful tips!
Very neat! Looks beautiful! I love how simple yet elegant these wood garland look. Great tutorial!
Beautiful, going to try this with my daughter!
I absolutely love wooden garland. I’ll have to make some with my kids this year! Thanks for sharing!